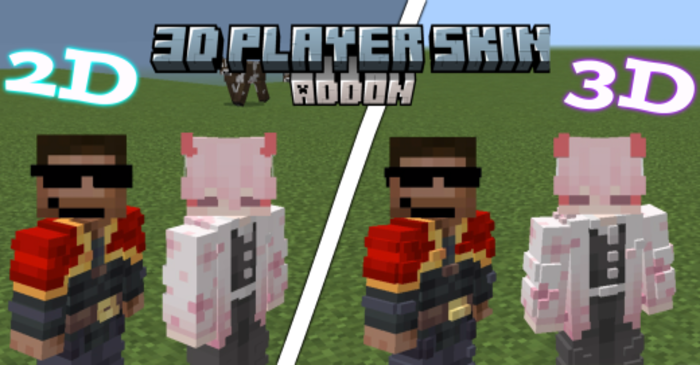
3D Player Skin Addon (1.21, 1.20) – MCPE/Bedrock Mod
16,268
views ❘
November 4, 2024
❘
3D Player Skin Addon (1.21, 1.20) is a fantastic tool for MCPE players who want to add more depth and realism to their characters. This addon allows you to add a second 3D skin layer to your character, transforming their appearance and enhancing your immersion in the game world.
Features:
- To install the skin, you need to download the 3D Player Skin Addon file, locate the “textures” folder inside the 3D Player Skin folder, and rename your skin file to “steve.png”. Then, copy and paste your skin in PNG format into the “textures” folder. Once you’ve done this, open Minecraft, load a world, and your 3D skin should be applied to your character, adding a new layer of depth and realism.
- However, it’s important to note that the creator of the addon mentioned that Steve’s skin needs to be selected in-game for the addon to work properly.
- Overall, the 3D Player Skin Addon is a great way to customize your Minecraft character and make your gaming experience more visually engaging.

How to install video guide:
How to install text guides:
- Download the 3D Player skin Addon file from the provided link.
- Locate the “textures” folder inside the 3D Player Skin folder.
- Rename your skin file to “steve.png”.
- Copy and paste your skin in PNG format into the “textures” folder.
- Open Minecraft and load a world.
- Your 3D skin should now be applied to your character, adding a new layer of depth and realism!
3D Player Skin Addon (1.21, 1.20) Download Links
For Minecraft PE/Bedrock 1.20
For Minecraft PE/Bedrock 1.21
Click to rate this post!
[Total: 2 Average: 3.5]
Tags:
YOU MAY ALSO LIKE...
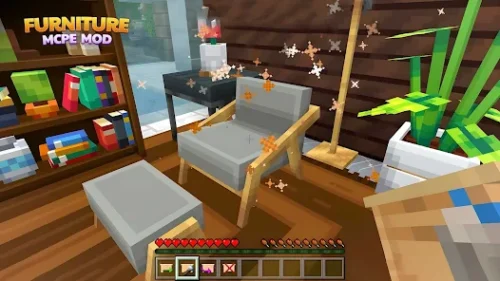
Furniture Life Addon (1.21) – MCPE/Bedrock Mod
9,371
views
Furniture Life Addon (1.21) transforms your virtual world with over 1000 real furniture blocks, enabling…
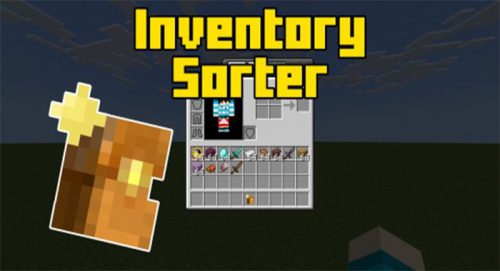
Player Inventory Sorter Addon (1.21, 1.20) – MCPE/Bedrock Mod
8,983
views
❘
Are you just returning from exploration and want to organize your inventory? Do you have…

Admin Menu Addon (1.21, 1.20) – MCPE/Bedrock Mod
3,631
views
❘
Admin Menu Addon (1.21, 1.20) is incredibly straightforward and user-friendly. It’s compatible with all other…
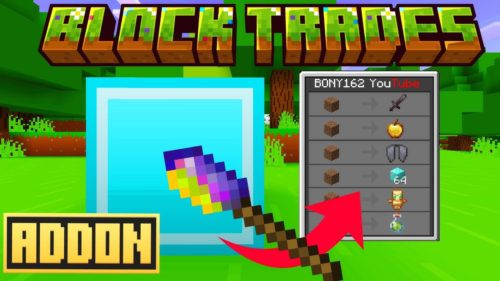
Block Trades Addon (1.21) – MCPE/Bedrock Mod
1,867
views
❘
Block Trades Addon (1.21) lets you trade random items like blocks, weapons, tools, and potions…

Speedster-Era Addon (1.21, 1.20) – MCPE/Bedrock Superheroes Mod
5,164
views
❘
Unleash the Power of Speed in Minecraft! Speedster-Era Addon (1.21, 1.20) transforms your game by…
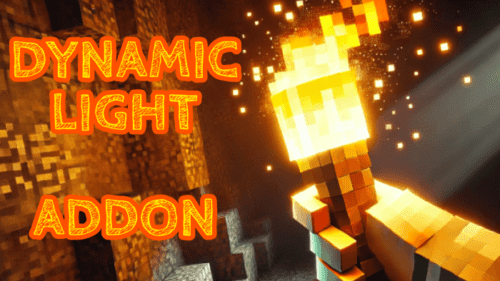
Dynamic Light + Offhand Torch Addon (1.21) – MCPE/Bedrock
7,632
views
❘
Have you ever wished for Dynamic Light like Java's Optifine? This addon is perfect for…
After Euler Addon (1.21, 1.20) – Fantasy Dungeon Boss Mod
21,365
views
❘
After Euler Addon (1.21, 1.20) offers a brand-new final boss with custom animations, sounds, and…
Monsters Addon (1.21) – MCPE/Bedrock Mod
2,509
views
Monsters Addon (1.21) brings new fearsome enemy mobs and wields powerful new weapons to dominate…

The FAYE Pixies Accessories Pack Addon (1.21) – MCPE/Bedrock Mod
1,847
views
❘
The FAYE Pixies Accessories Pack Addon (1.21) adds a delightful collection of 10 adorable wearables…