Advanced Replay Plugin (1.20.1, 1.19.4) – Spigot
Advanced Replay Plugin (1.20.1, 1.19.4) is a Minecraft plugin that introduces a comprehensive replay system into the game. It allows players and server administrators to record gameplay, then replay it from any perspective, providing a valuable tool for creating cinematic videos, reviewing game events, or analyzing player behavior. The plugin is compatible with most Minecraft versions and can be easily integrated into any server.

Features:
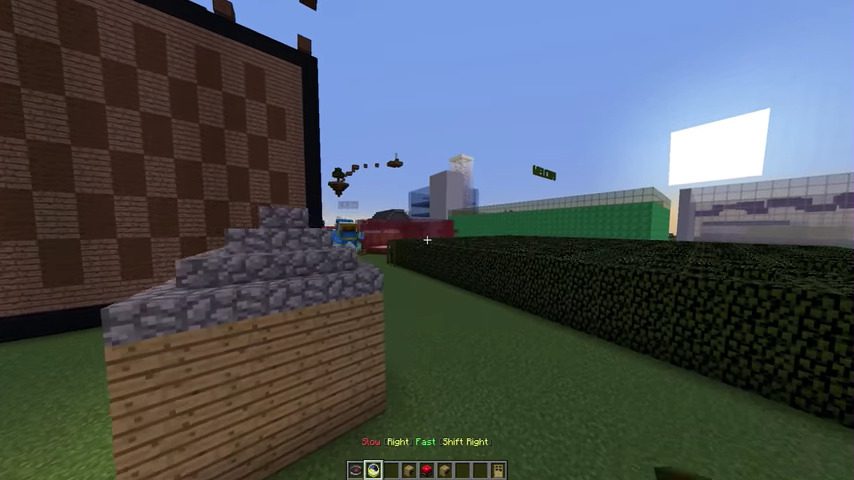
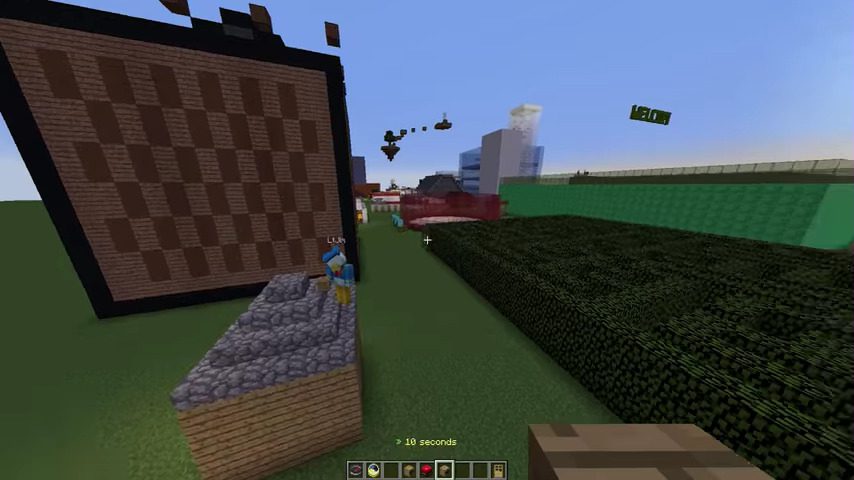
– Replaying: When watching a replay you have a variety of tools to control the replay. For example, you can pause it, change the speed, teleport to one of the players and more.
– Easy to use API: AdvancedReplay comes with a lot of possibilities for customization with the api, including a way to change how replays are saved and a possibility to add and replay your own data.
For more details take look at the API section.
– Recorded Data:
AdvancedReplay is currently able to record living entities, items and Projectiles.
- Player movements
- Player actions (Eating, Arm animations & more)
- Inventory changes
- Metadata updates
- Projectiles
- Dropped Items
- Block changes by players
- Chat messages
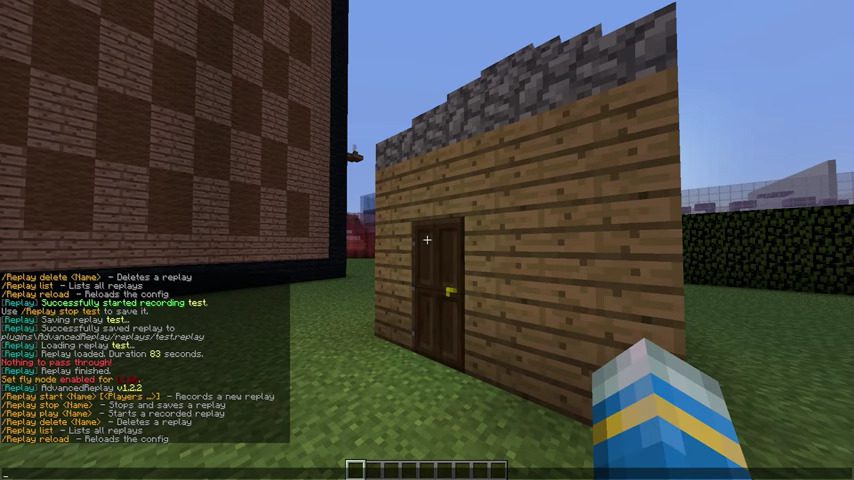
Commands:
- /replay start: This command allows players to start recording their gameplay.
- /replay stop: This command allows players to stop recording.
- /replay play [name]: This command allows players to replay a recorded gameplay.
- /replay list: This command allows players to view a list of their recorded gameplays.
Permissions:
- replay.use: This permission allows a player to use the Advanced Replay Plugin. It’s usually given to all players.
- replay.start: This permission allows a player to start recording gameplay. It’s usually given to all players.
- replay.stop: This permission allows a player to stop recording gameplay. It’s usually given to all players.
- replay.play: This permission allows a player to replay recorded gameplay. It’s usually given to all players.
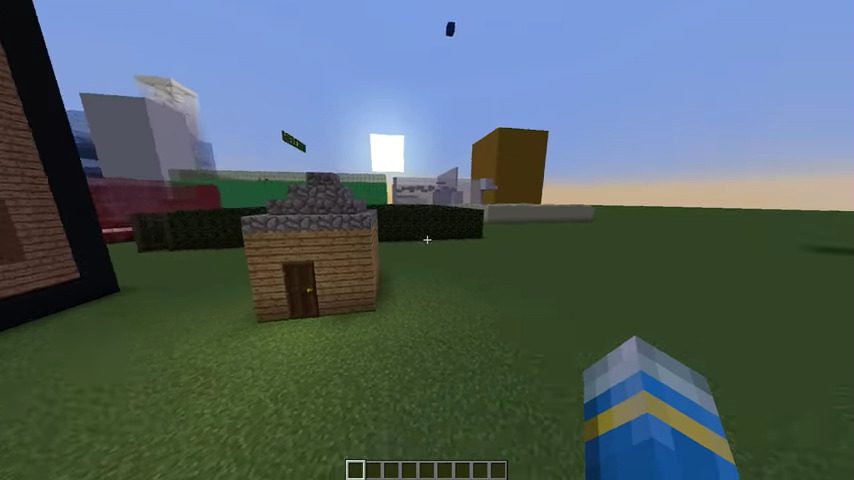
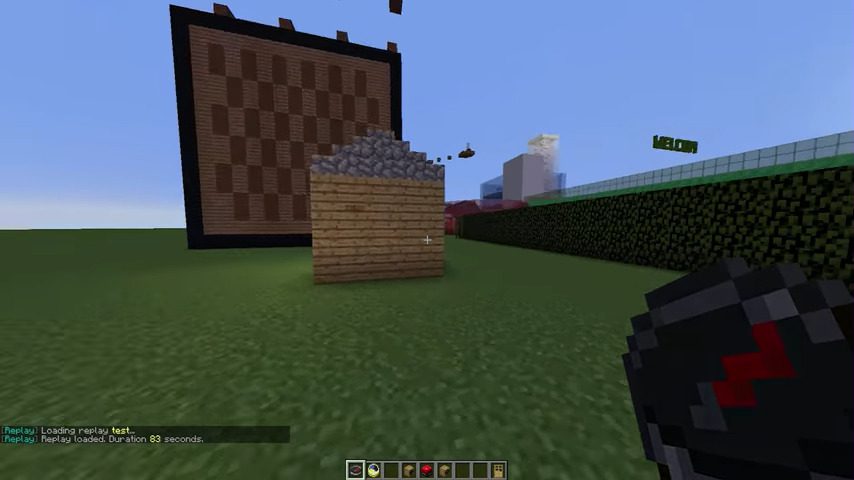
Screenshots:
How to install:
- Download a plugin of your choice.
- Place the .jar and any other files in your plugin’s directory.
- Run the server and wait for it to fully load.
- Type stop in your Minecraft server console to bring the server to a clean stop.
- Run the server.
- All done! Your plugin should be installed and ready to be used.

