Chat Formatting Plugin (1.20.1, 1.19.4) – Spigot
Chat Formatting Plugin (1.20.1, 1.19.4) is a plugin designed to provide server administrators with control over the visual presentation of chat messages. It allows for various formatting options, such as colors, styles, and prefixes, to be applied to different players or specific groups, making in-game communication more personalized and organized.
Features:
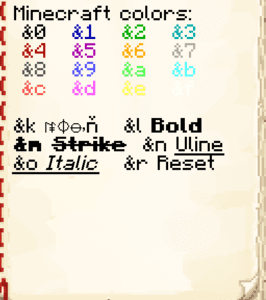
- Customizable Chat Colors: The core feature of the Chat Formatting Plugin is the ability to customize chat message colors for individual players or specific groups, allowing for easy identification and personalization.
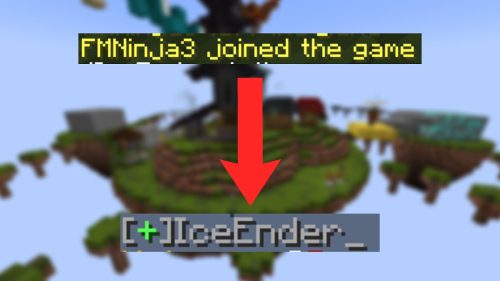
- Chat Prefixes and Suffixes: The plugin allows administrators to add prefixes or suffixes to players’ names in the chat, making it easier to identify staff members, donators, or specific groups.
- Text Styles: Server administrators can utilize various text styles, such as bold, italic, underline, or strikethrough, to emphasize certain messages in the chat.
- Compatibility: The Chat Formatting Plugin is designed to be compatible with most versions of Minecraft, ensuring accessibility and usability on different server environments.
Commands:
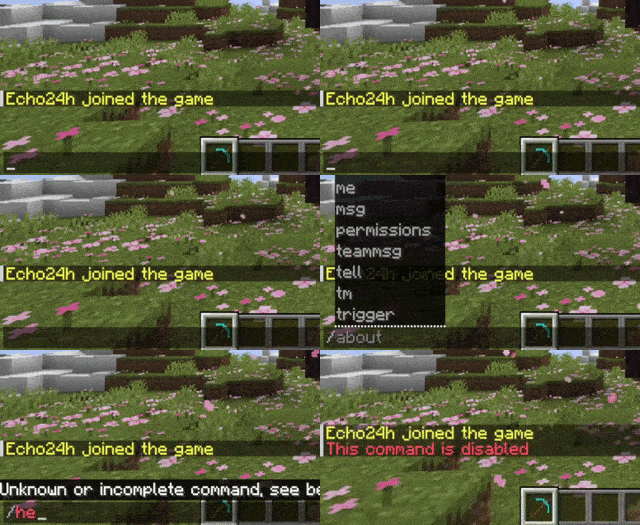
The Chat Formatting Plugin may introduce various commands that enable server administrators to configure the plugin’s settings. These commands can vary depending on the version of the plugin being used.
/chatformat setcolor <player> <color>: Sets a specific chat color for an individual player./chatformat setprefix <player> <prefix>: Sets a chat prefix for an individual player./chatformat setsuffix <player> <suffix>: Sets a chat suffix for an individual player.
Permissions:
The plugin may require specific permissions to access certain features or commands, especially in multiplayer or server environments. Server administrators can set permissions using plugin management tools to control access to Chat Formatting Plugin features.
chatformatting.manage: Allows a player to use the/chatformatcommands and manage chat formatting.
How to install:
- Download a plugin of your choice.
- Place the .jar and any other files in your plugin’s directory.
- Run the server and wait for it to fully load.
- Type stop in your Minecraft server console to bring the server to a clean stop.
- Run the server.
- All done! Your plugin should be installed and ready to be used.


 0
0  July 25, 2023
