How To Install Shaders
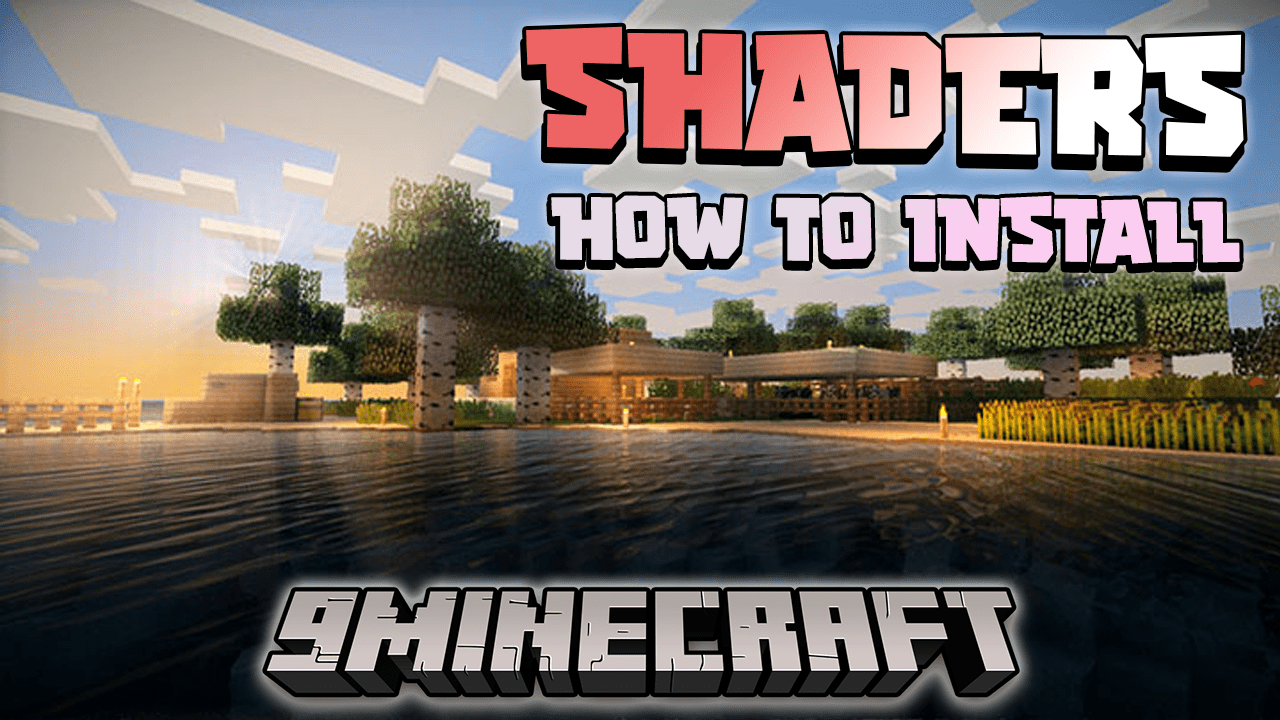
Shaders are a way to enhance the graphics of your Minecraft world, giving it a more realistic look. In this guide, you will learn how to download and install shaders.
Minecraft has introduced a lot of blocks over the years, but the overall graphics have stayed the same. If you want to try out different lighting and textures, then you’re in the right place. Here are the steps to install shaders.
Shaders are basically mods that change the graphics settings of your Minecraft world. Often, shaders are used to give the world a more realistic feel, with improved lighting and shadows. First, let’s see what you need to do before downloading shaders. The process to install Optifine and shaders may vary as new Minecraft updates are released. Therefore, we’ve updated this guide with the most recent information.
1. Installing Optifine
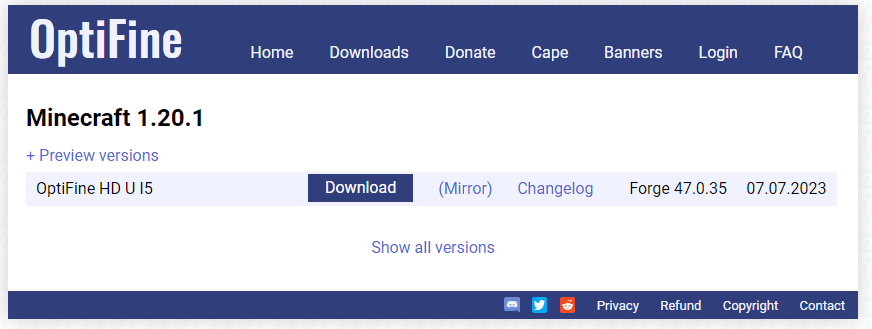
Optifine is indeed a mod that essentially enables shaders to function in your Minecraft world. It’s crucial to have Optifine installed before you proceed with downloading shaders.
Yes, to download Optifine, you can visit its official website and click on the ‘download’ button. Make sure to select ‘Mirror’ for the latest version of the game when downloading. This action will initiate the download of the file to your computer.
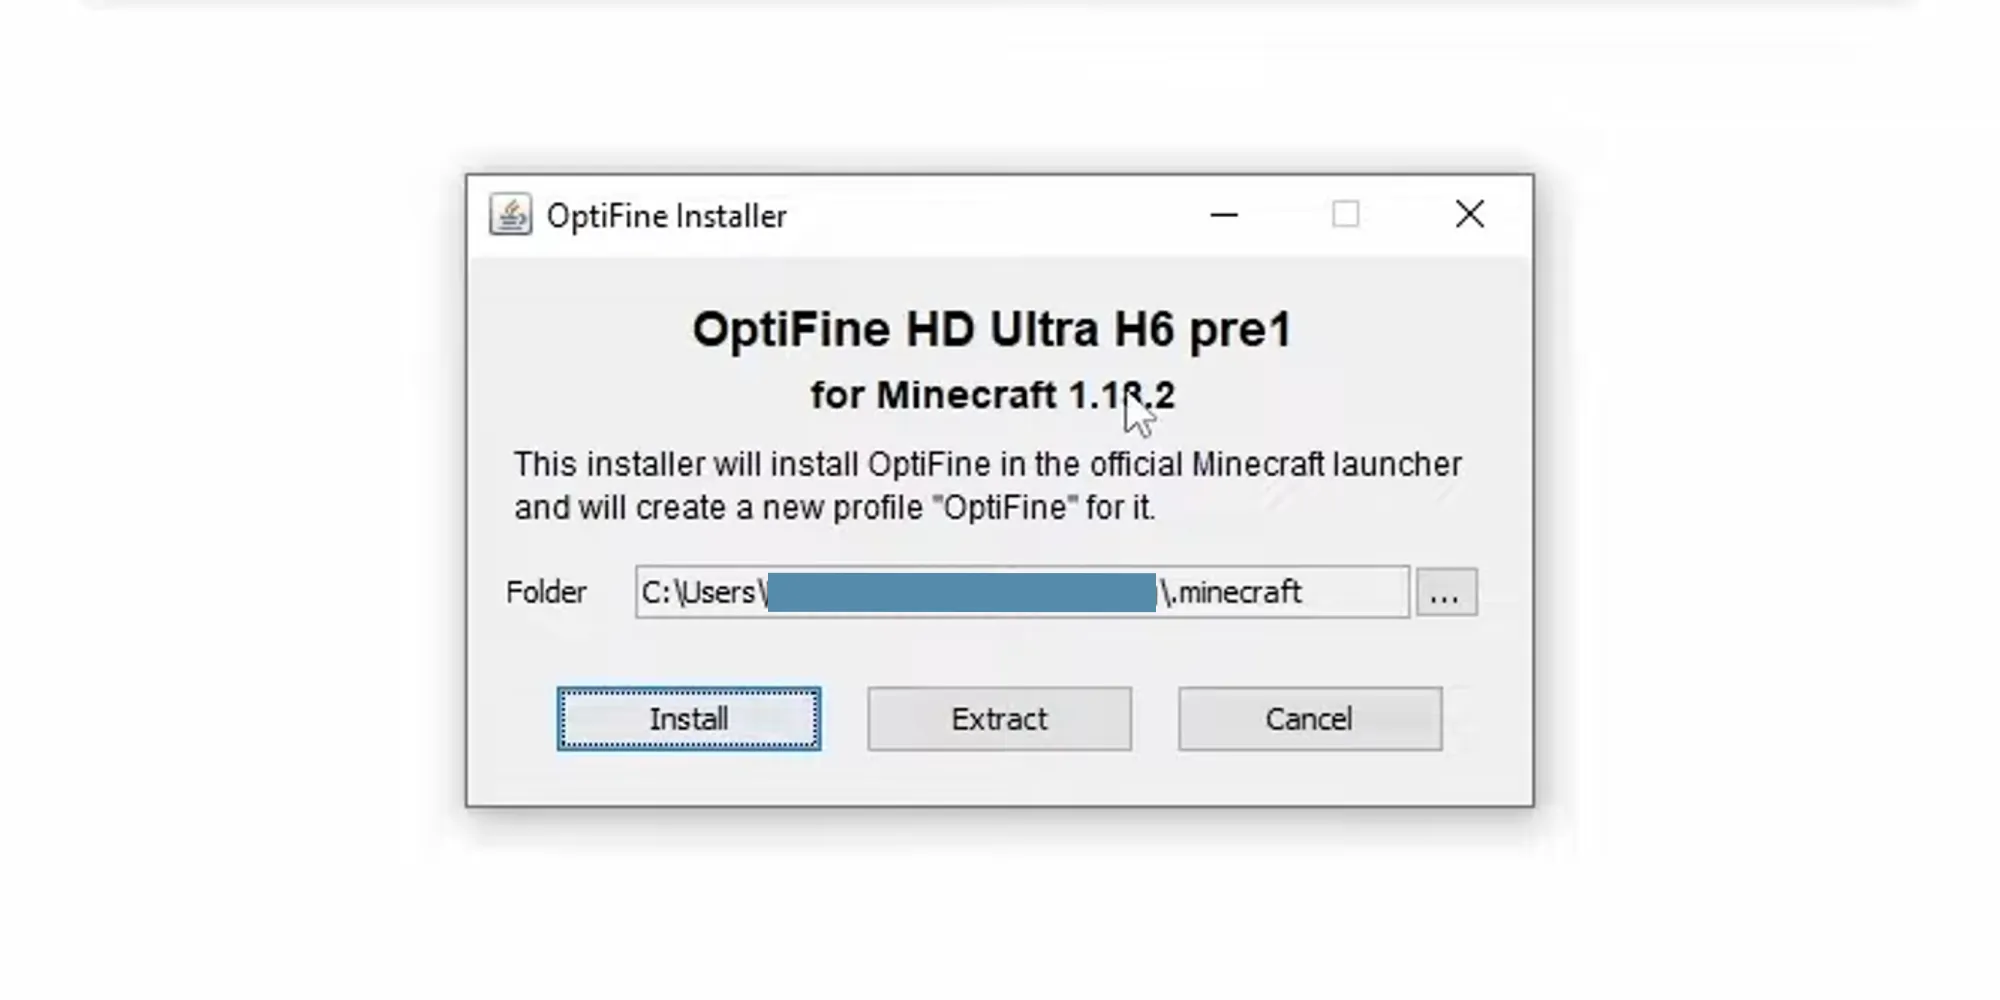
Once Optifine is downloaded, you can right-click the file and select ‘Open with’, then choose the Java option.
A menu for Optifine will then appear; click on ‘install’ and subsequently head over to the Minecraft launcher.
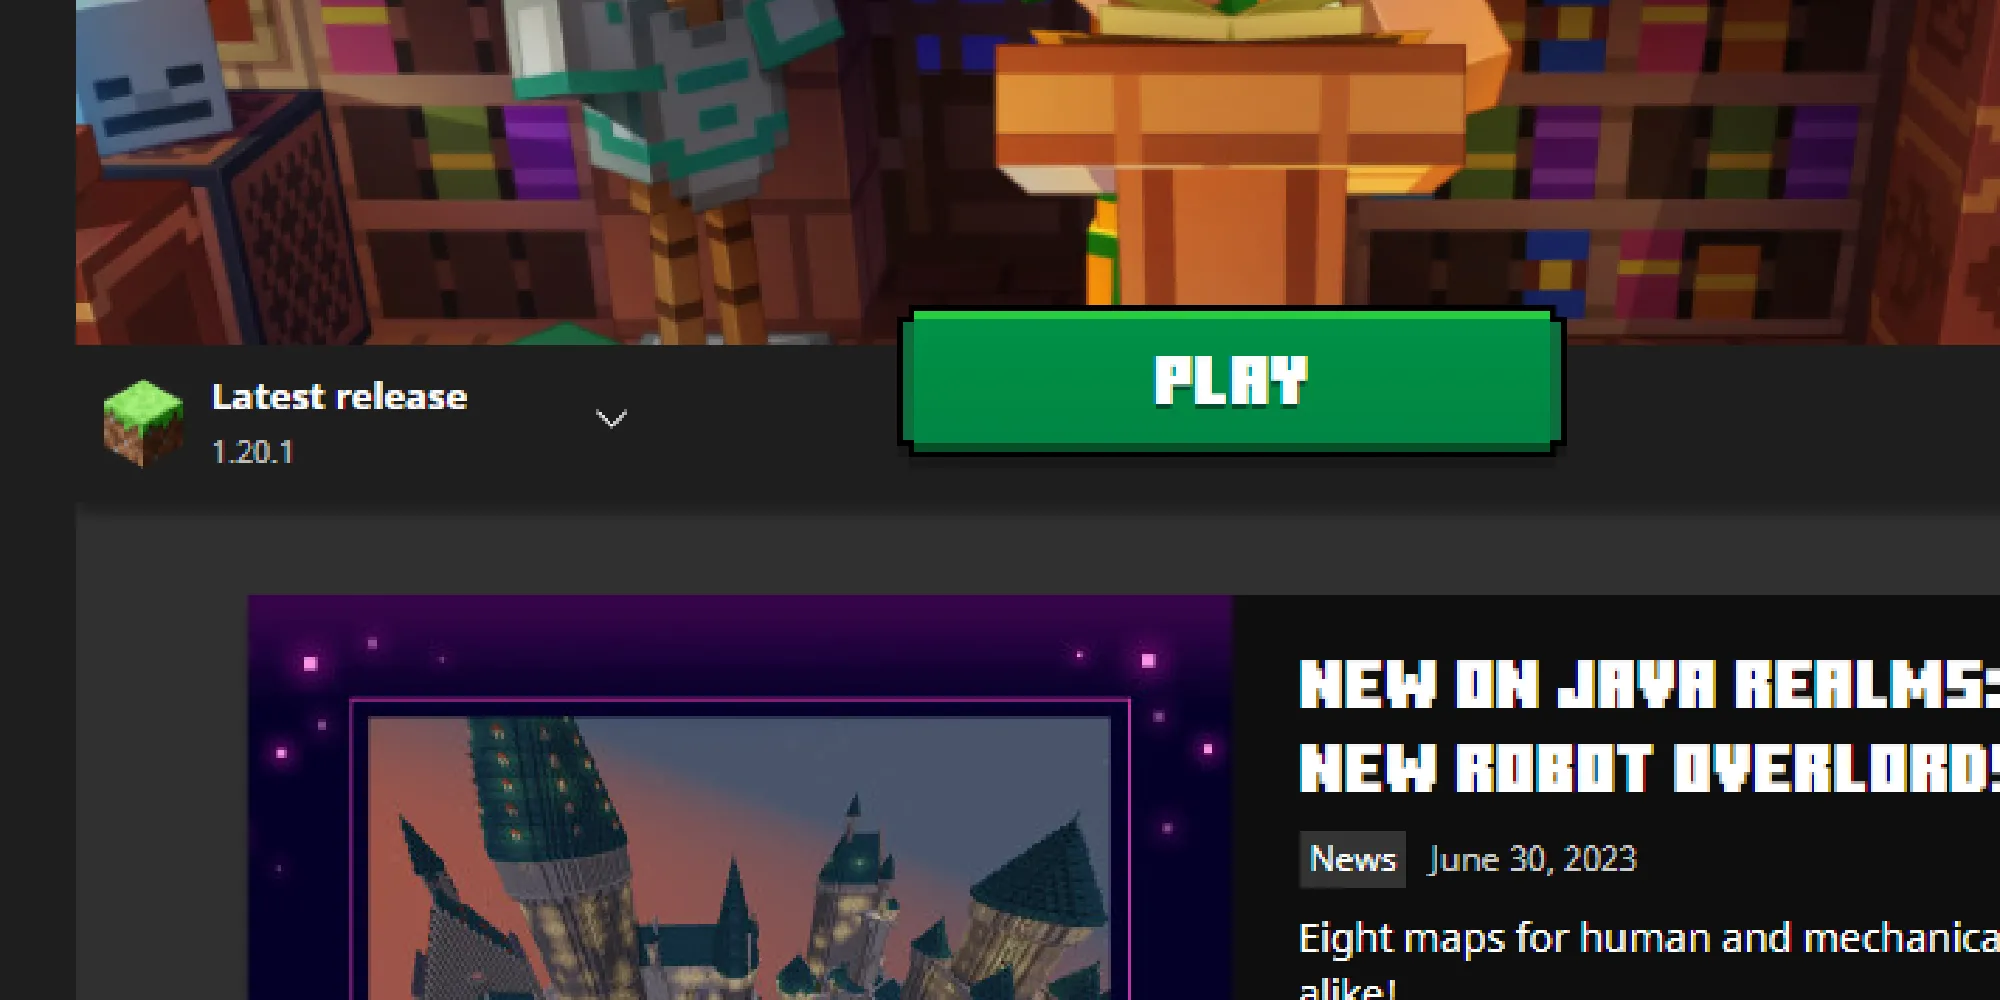
To the left of the ‘Play’ button, there should be a small menu displaying the version of the game you’re currently playing. Click on the arrow and select ‘Optifine’. Now, you’re ready to go!
2. Downloading Shaders
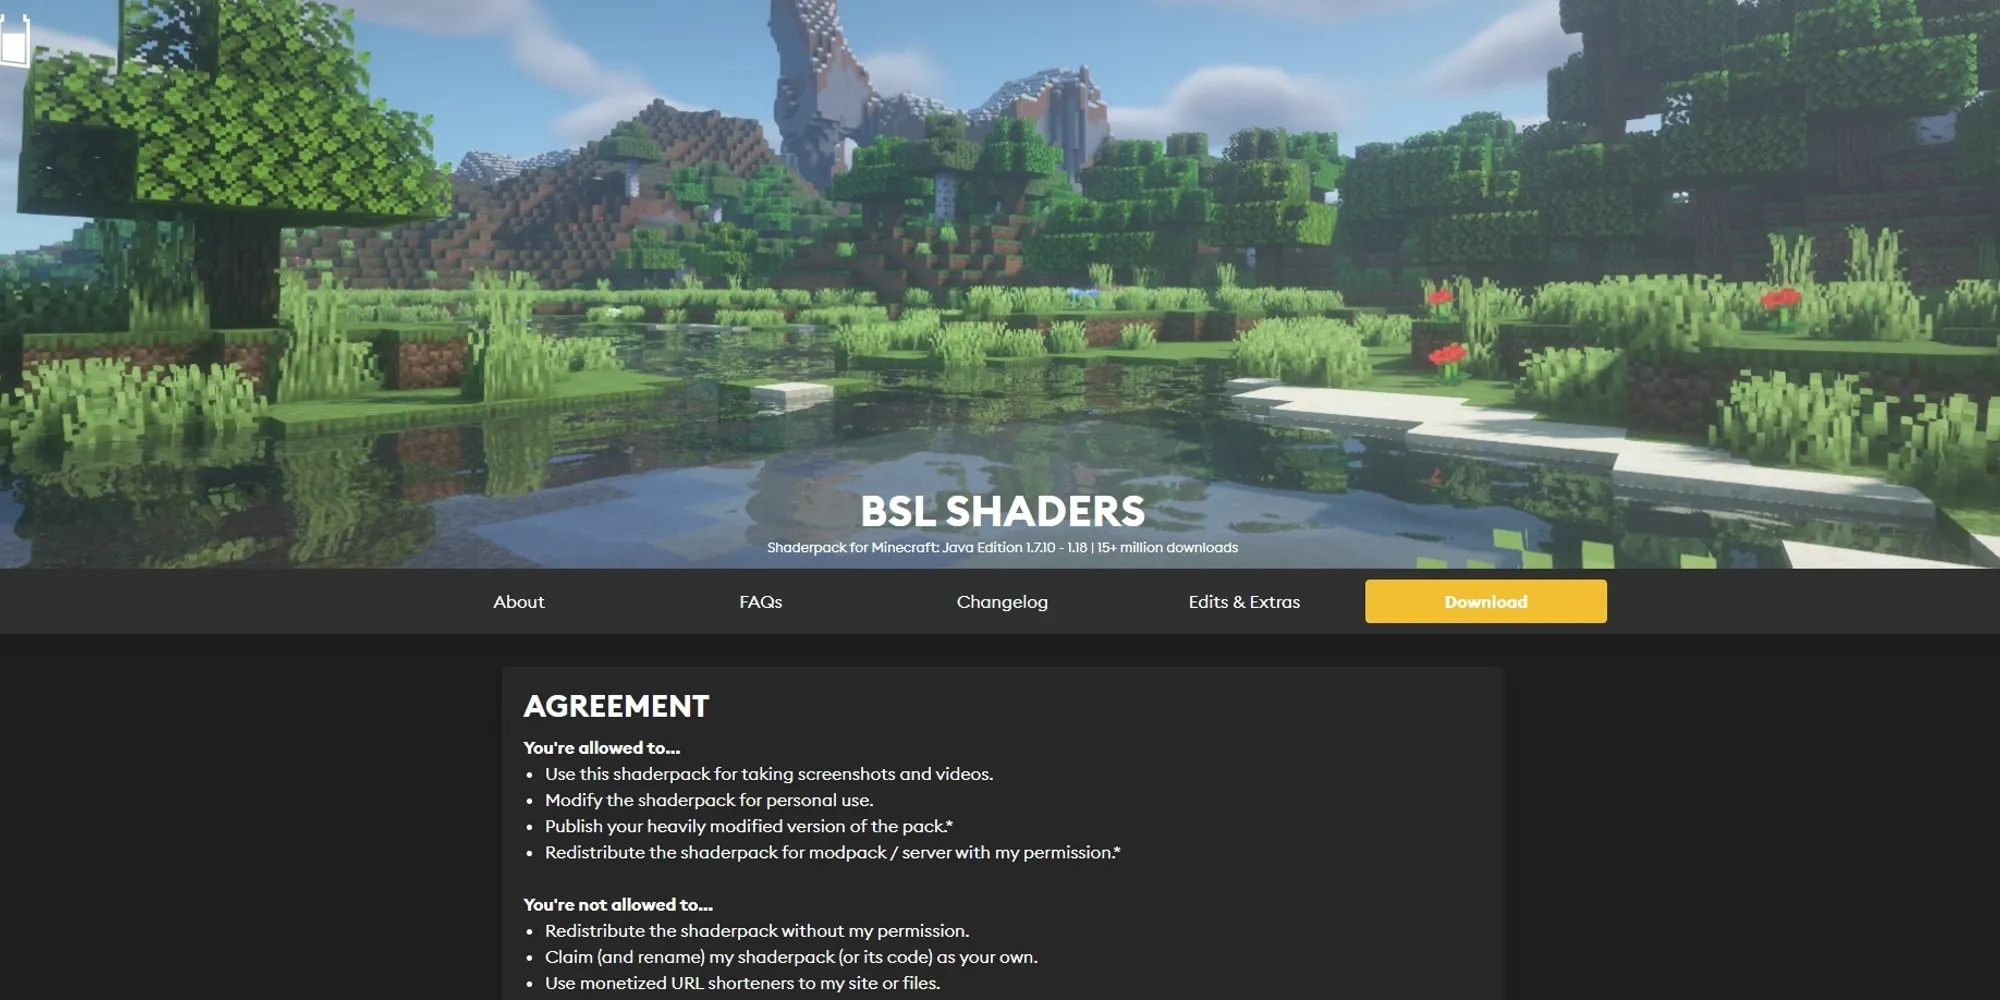
Shaders can be downloaded from a variety of websites, and with hundreds of shader options available, you’re sure to find one that appeals to you.
It’s crucial to ensure that you’re using a reputable site before downloading shaders! As with any internet download, caution is advised.
Creating a new folder to store your downloaded shaders is a good idea. This will make it easier for you to locate them when it’s time to install the shaders in the game.
3. Shaders We Recommend
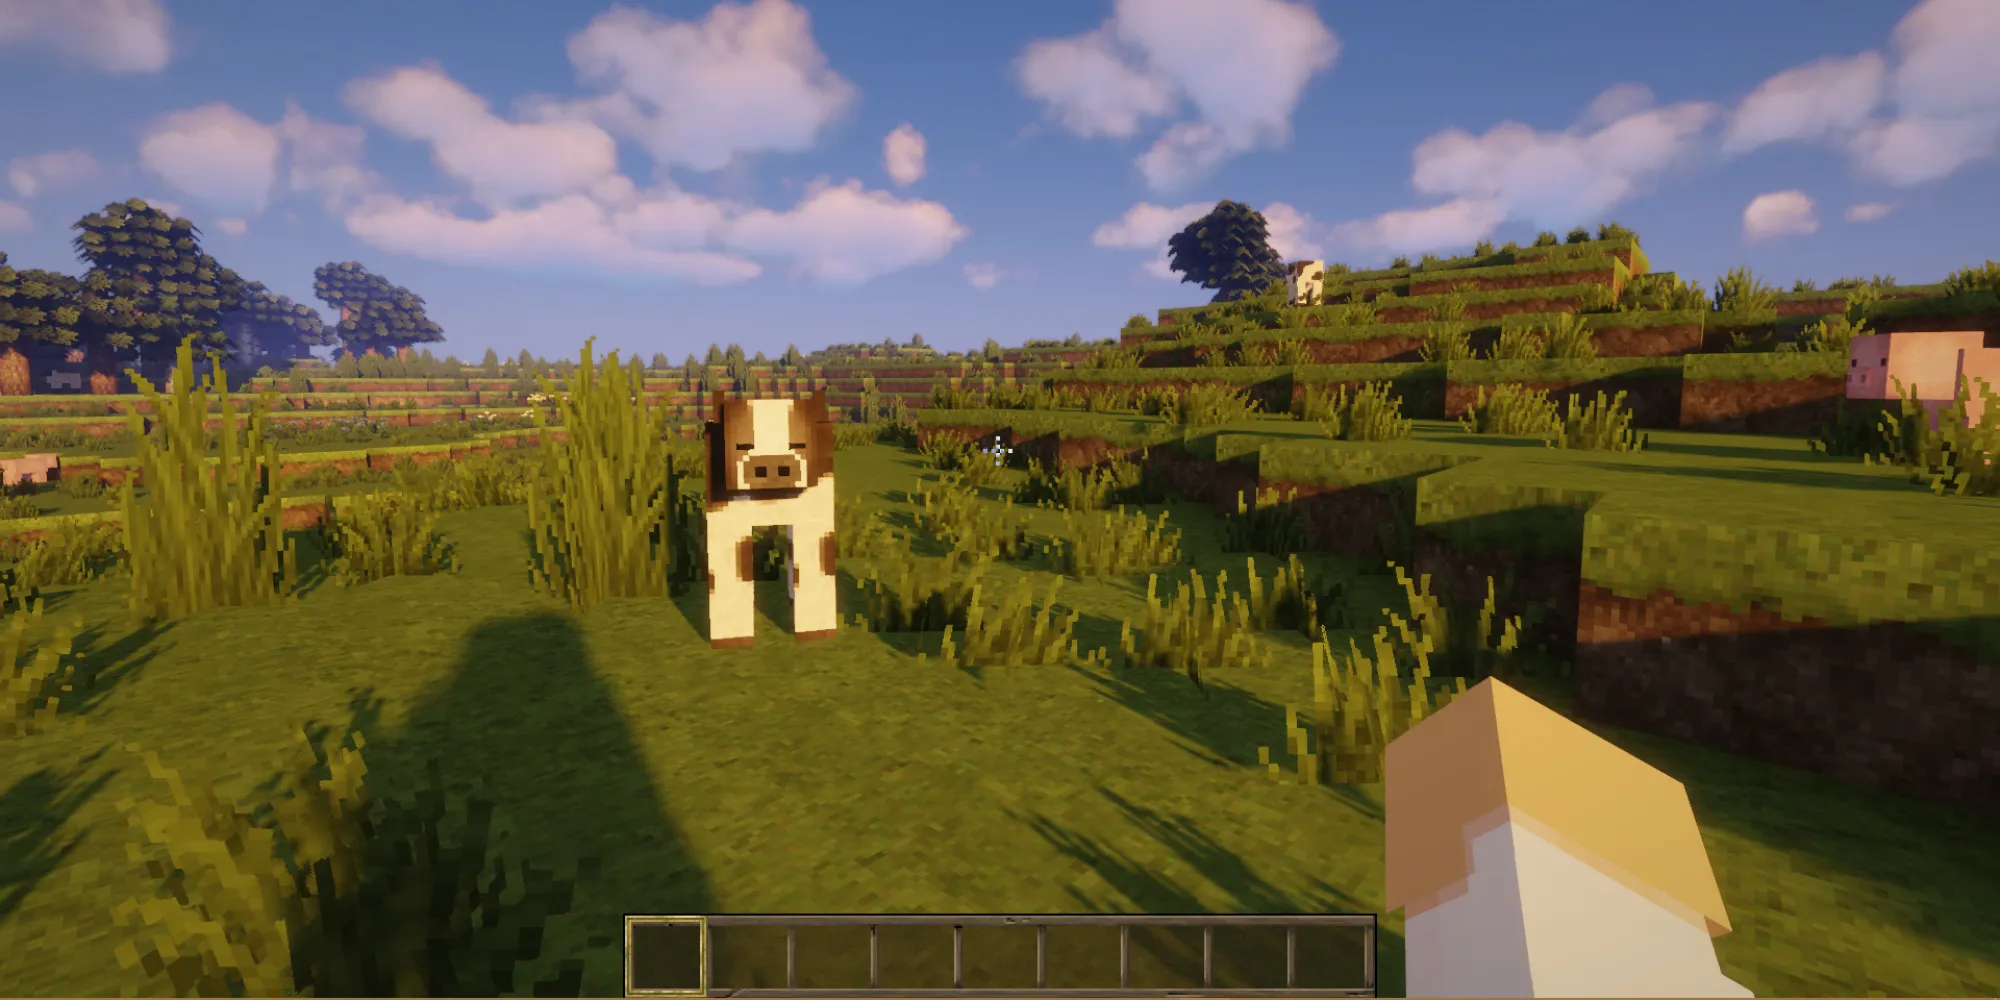
If you don’t know where to start in terms of searching for a shader, we’ve got you covered. Below, you can find several shaders we recommend, as well as a screenshot of the game with the shader on.
These shaders aren’t too drastic and can help you ease into the world of Minecraft shaders.
- Rethinking Voxels
- Sildur’s Shaders
- Nostalgia Shader
- Sora Shaders
- BSL Shaders
- Sonic Ether’s Unbelievable Shaders
4. How To Install Shaders
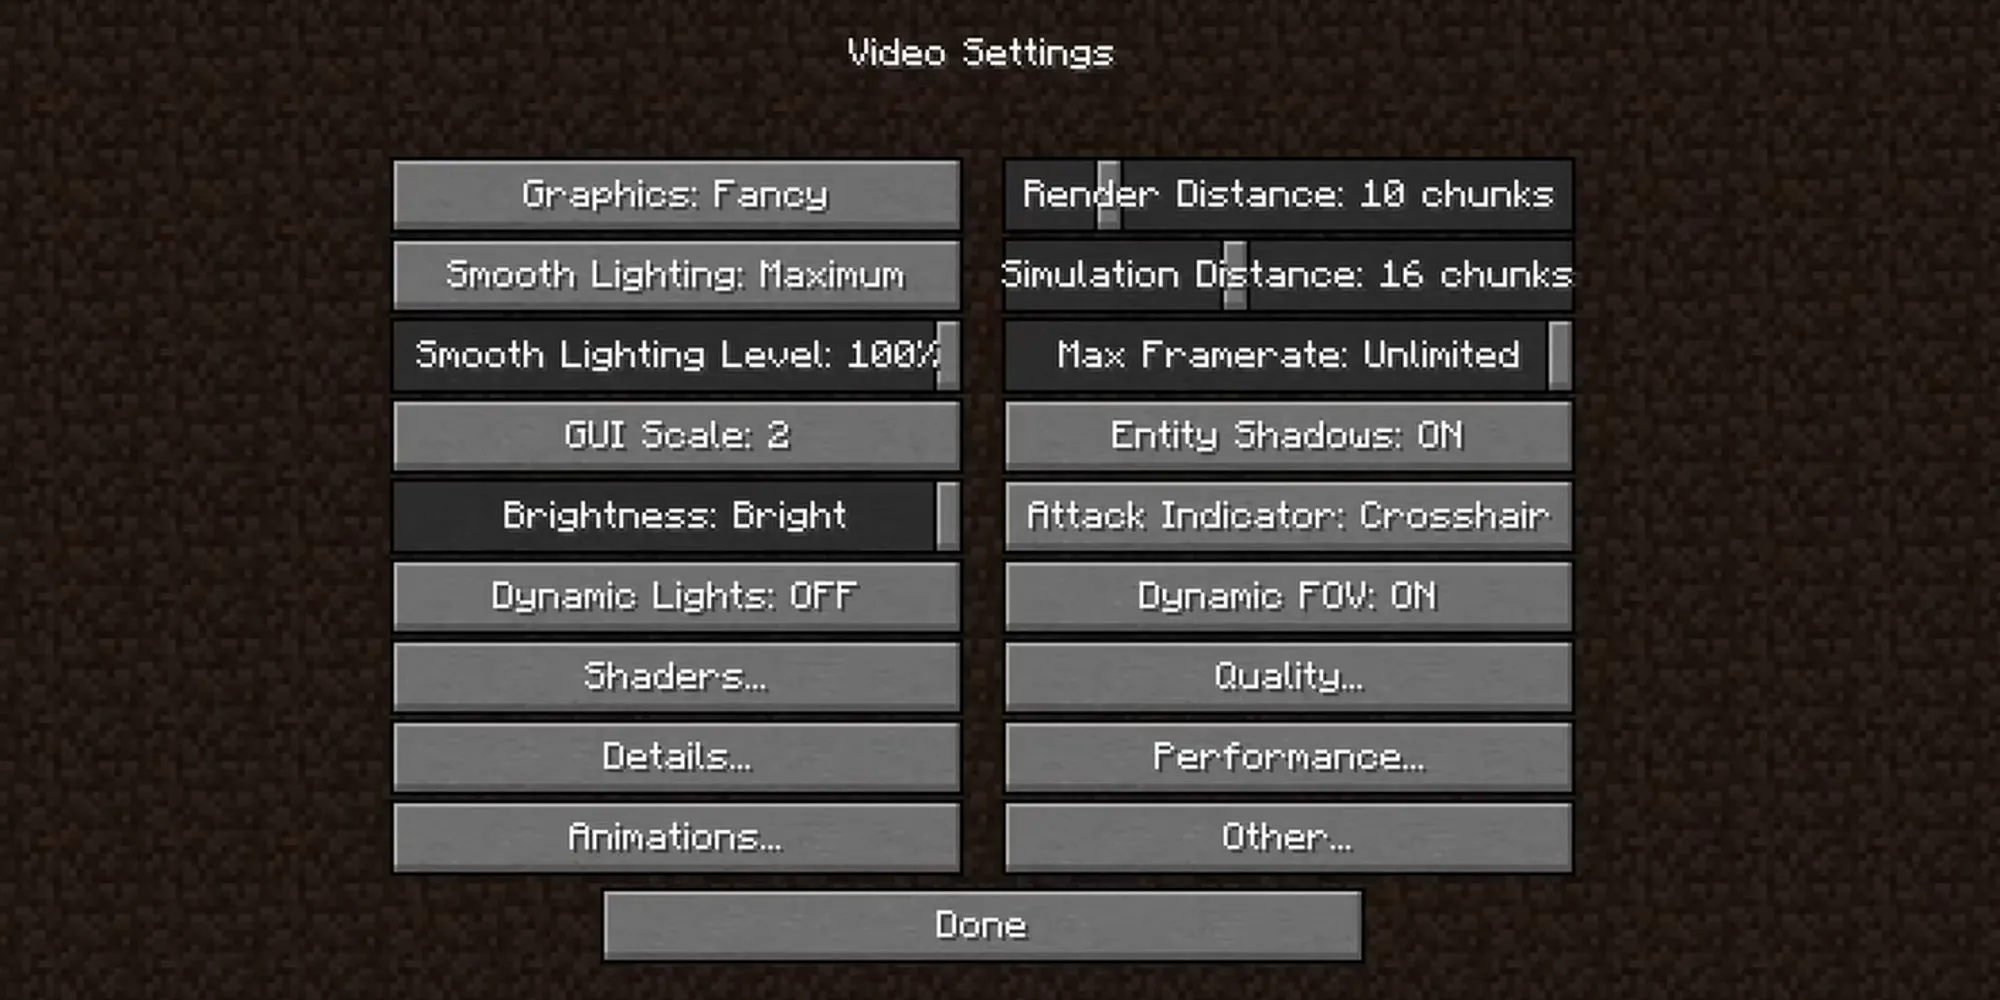
Once you’ve downloaded a shader pack, you can open Minecraft.
From the Minecraft home screen, navigate to ‘Options’, then ‘Video Settings’, and finally ‘Shaders’. Here, you’ll see a screen with several options on the right side and a list of shaders on the left side.
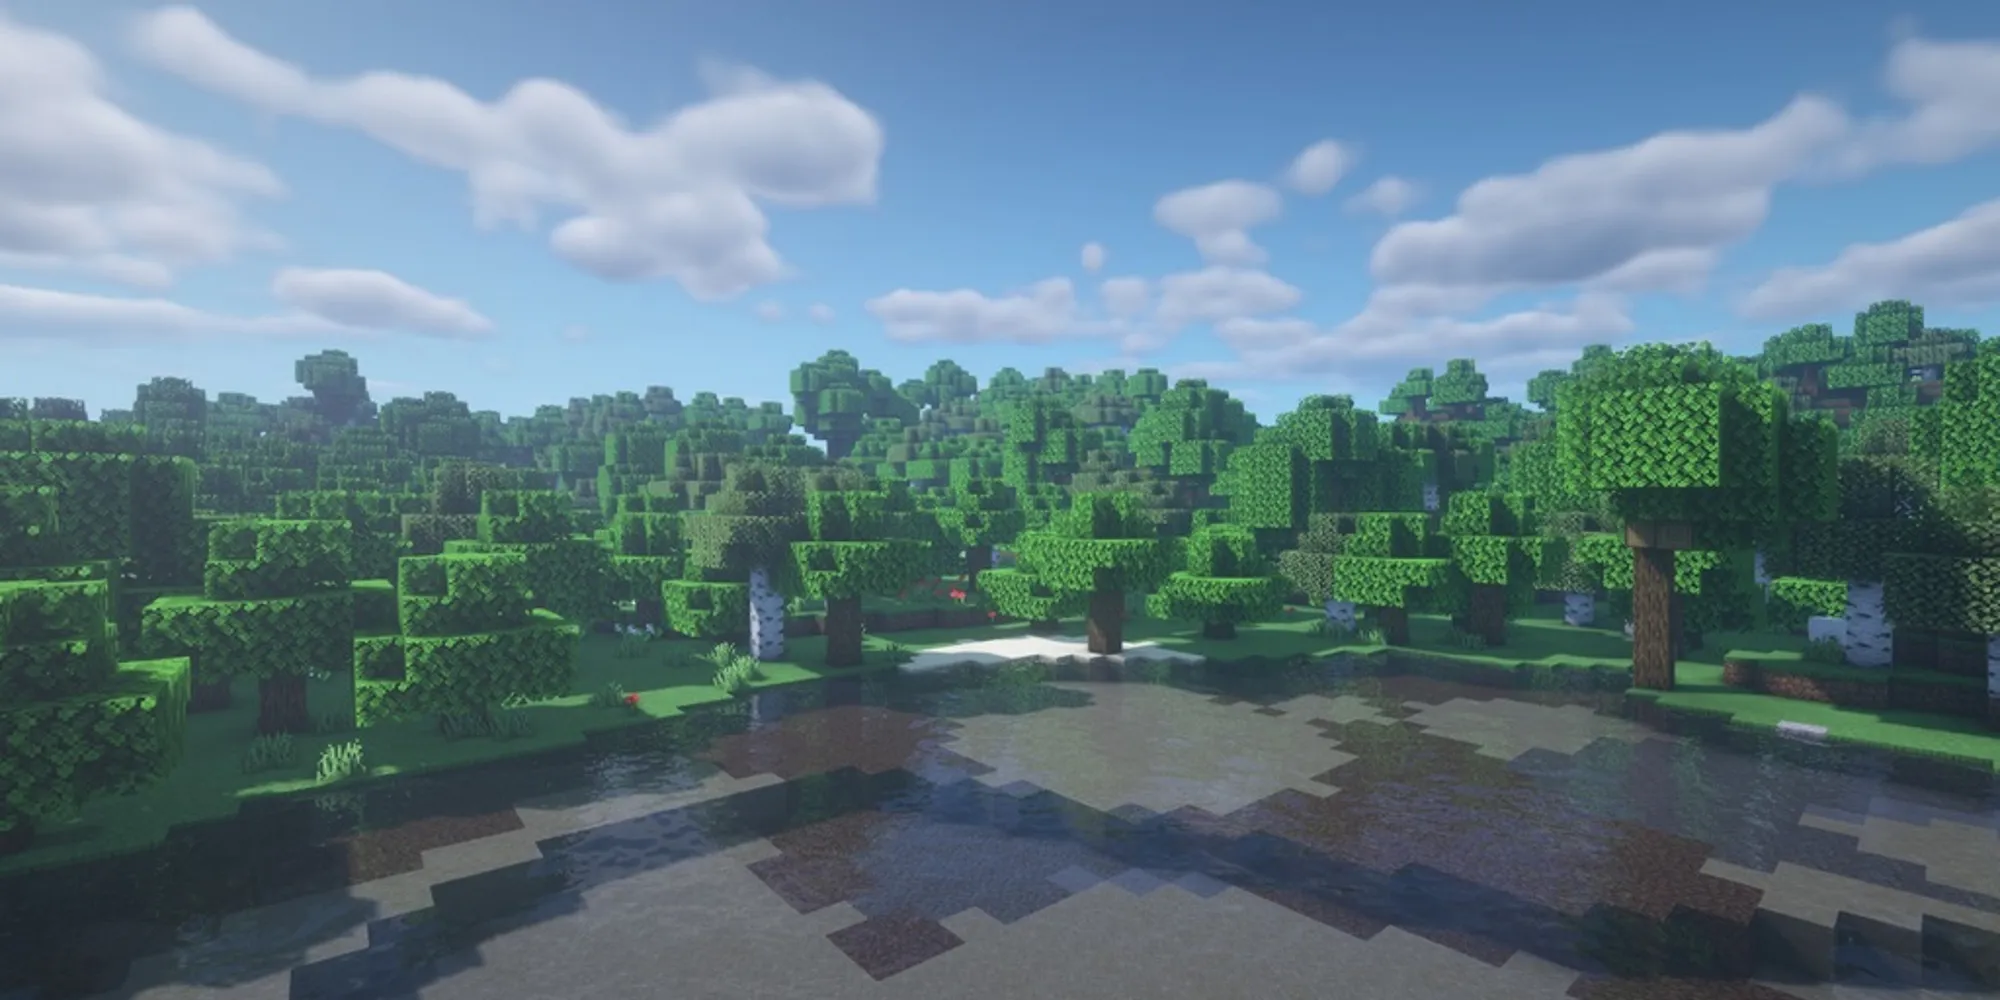
Click on ‘Shaders Folder’ in the bottom left corner of the screen, and then transfer your chosen shader pack into this folder. You can do this by directly pasting the shaders into the folder. Once the shaders are in the folder, click ‘Done’.
Now, when you enter your Minecraft world, the shaders should be installed and ready to enhance your gaming experience!
5. Shaders In a Multiplayer Server
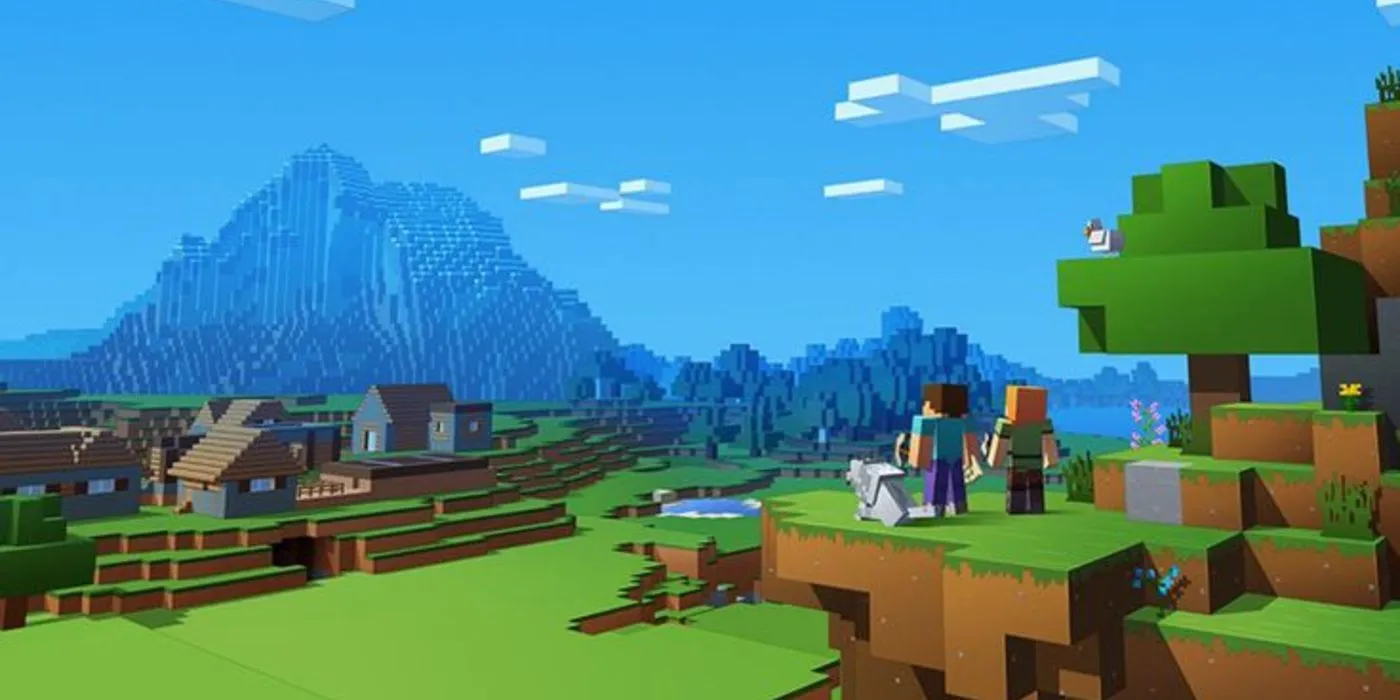
Shaders are client-side, meaning they’re installed on an individual’s computer. Therefore, you can install shaders on a server that hosts multiple players without affecting the server itself.
The installation process remains the same as described above. However, it’s important to note that other players won’t be able to see the shaders you’ve installed unless they also have the same shader installed on their own computers.

