Minecraft Building Ideas: 30 Awesome Projects to Try in 2023 – Part 2
 1,712
1,712
 0
0
 August 22, 2023
You can visit this link to view all part here:
- Minecraft Building Ideas: 30 Awesome Projects to Try in 2023 – Part 1
- Minecraft Building Ideas: 30 Awesome Projects to Try in 2023 – Part 2
16. Cathedral

Building a cathedral in Minecraft is a challenging and time-consuming task that requires a lot of planning and resources. You need to choose a suitable location, design the structure, gather the materials, and construct the building. You also need to pay attention to the details, such as the windows, doors, towers, and decorations. If you need some inspiration or guidance, you can look at the Nether Cathedral, which is a stunning example of a cathedral that stands out in the dark and gloomy Nether. It has some of the most beautiful and intricate elements, such as stained glass, arches, pillars, and spires. The Nether Cathedral is a masterpiece of architecture and creativity that you can admire or emulate.
17. Subway
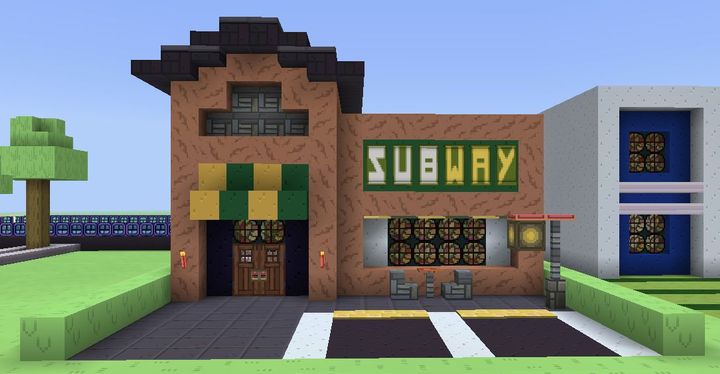
If you want to build a subway in your world, you need to find a secure spot and start digging a tunnel. The tunnel should be deep enough, at least eight blocks below the surface, to protect you from any explosions that might happen above. You can use a shovel or a pickaxe to dig faster and easier. You can also add some decorations to your subway, such as paintings, signs, or lights, to make it more attractive and fun. You can use different colors and materials to create your own style. You can also make some stations along the way, where you can stop and rest or explore other areas. Building a subway is a great way to travel around your world quickly and safely.
18. Maze

A fun and interesting way to create a maze in Minecraft is to use different types of hedges. You can use various kinds of wool and leaves to make your hedges look more realistic and colorful. For example, you can use green wool, birch leaves, lime wool, oak leaves, jungle leaves, and spruce leaves. You can also use different kinds of wood to make the entrance and exit of your maze. For instance, you can use spruce wood, oak wood, jungle wood, or any other wood that you like. You can make your maze as large and complex as you want, and challenge yourself or your friends to find the way out. Creating a hedge maze in Minecraft is a fun and creative way to test your skills and imagination.
19. Stone Statues

Statues in Minecraft are a great way to show your admiration and respect for the warriors who fought bravely and heroically. They also inspire you to be more courageous and skilled in your adventures. Building statues is a fun and rewarding task, especially when you use stones to make them. Stones are durable and versatile materials that can be used to create different shapes and sizes of statues. You can use cobblestone, stone bricks, sandstone, quartz, or any other stone that you like. You can also add some details and decorations to your statues, such as armor, weapons, banners, or flags. Building statues in Minecraft is a creative way to express your appreciation and enthusiasm for the warriors.
20. Bridge

A bridge is an essential thing in Minecraft that can help you cross rivers, ravines, or gaps. You can build a bridge that suits your style and environment. You can choose to make a simple wooden bridge that is easy and quick to build. Or you can make a more complex and detailed bridge that requires more time and resources.
You can use different materials and designs to make your bridge look more realistic and impressive. You can also add some features and decorations to your bridge, such as rails, arches, lanterns, or flags. Building a bridge in Minecraft is a fun and useful way to improve your world and your skills.
21. Lighthouse
A lighthouse is a great thing to build in Minecraft that can light up your world and make it more beautiful. You can use various elements to make your lighthouse look more fascinating and unique. You can use different colors and materials to create your lighthouse, such as wool, concrete, terracotta, or glass. You can also add some details and decorations to your lighthouse, such as windows, doors, stairs, or banners. Building a lighthouse in Minecraft is a fun and creative way to show your skills and style.
Here are some steps to build a lighthouse in Minecraft:
- Choose a suitable location for your lighthouse, such as near the sea or on a hill.
- Make a circular base for your lighthouse using the material of your choice. You can use a compass or a template to make a perfect circle.
- Build the walls of your lighthouse using the same material or a different one. You can make the walls straight or curved, depending on your preference.
- Make the roof of your lighthouse using stairs or slabs. You can make the roof flat or pointed, depending on your preference.
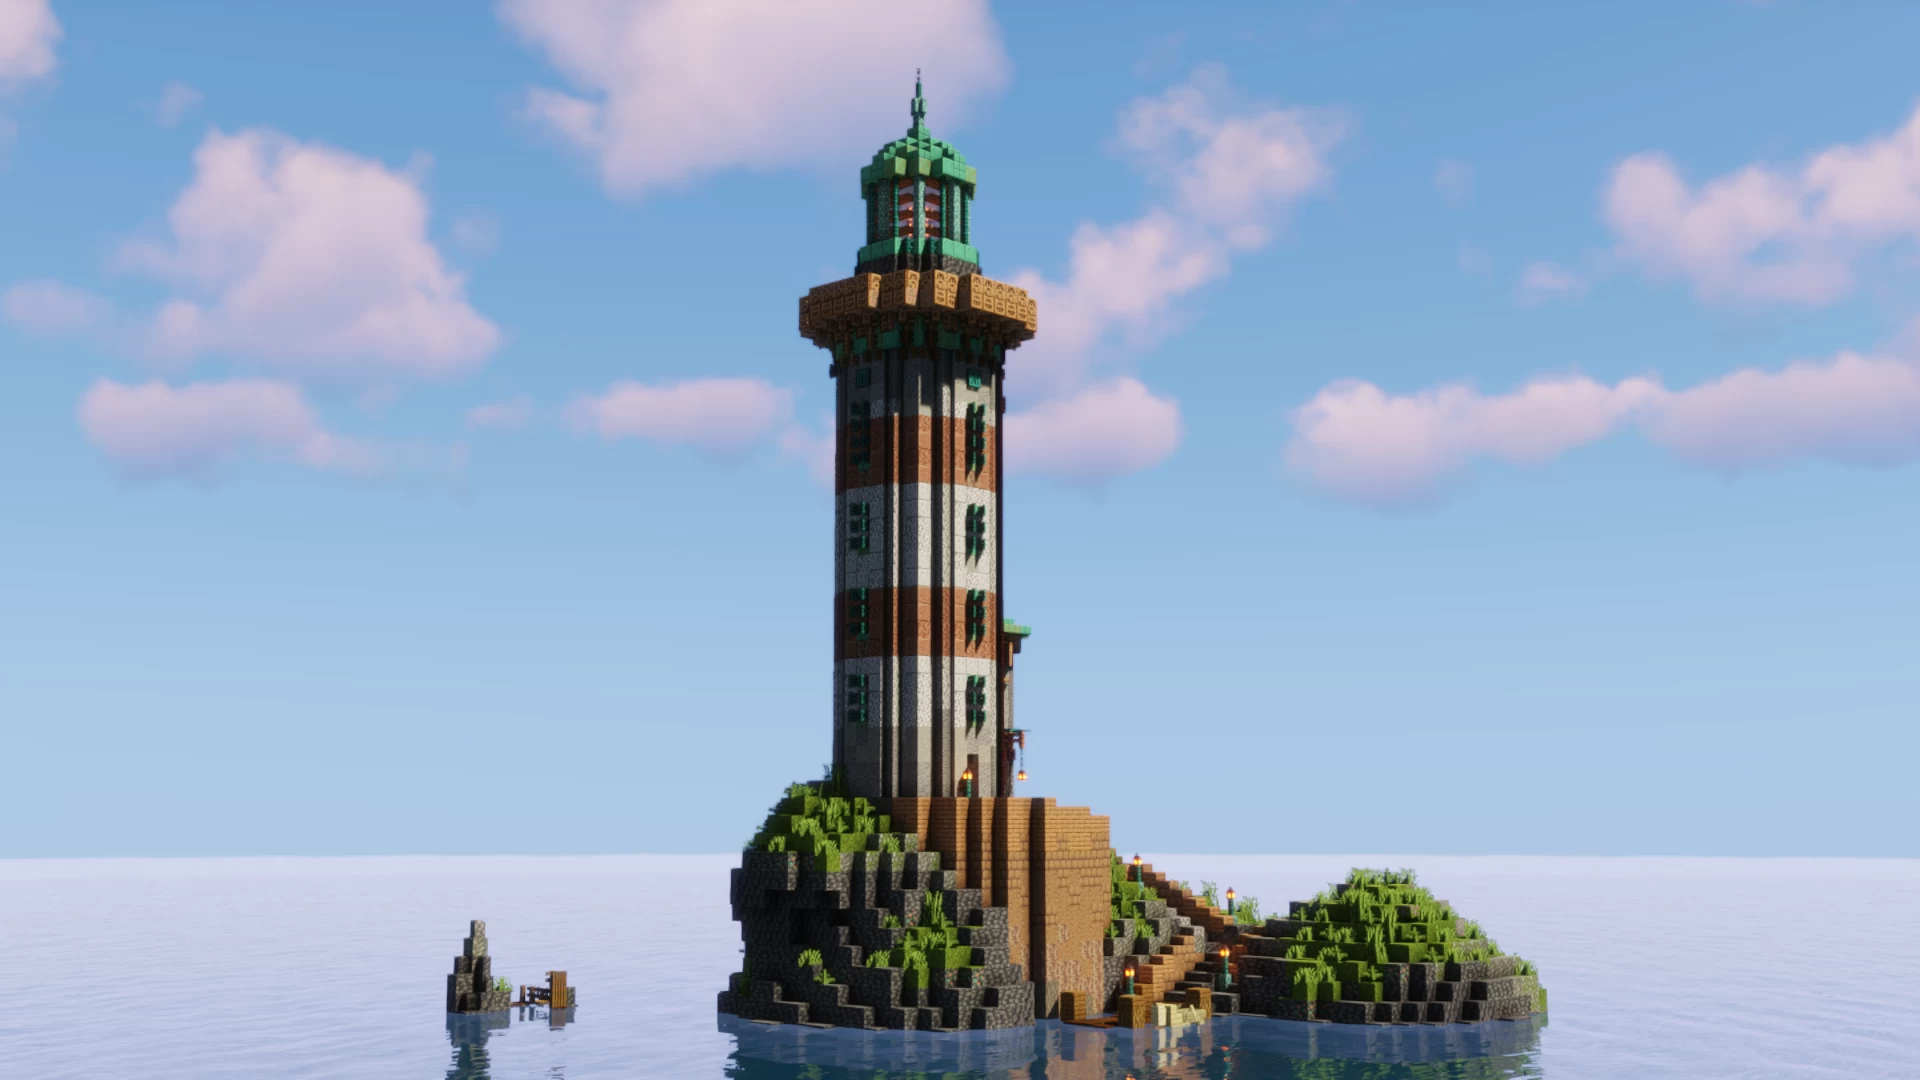
- Make the lantern room of your lighthouse using glass or glowstone. This is where you will place the light source for your lighthouse.
- Place the light source for your lighthouse inside the lantern room. You can use torches, lanterns, redstone lamps, or sea lanterns. You can also use redstone circuits to make the light flash or rotate.
- Add some details and decorations to your lighthouse, such as windows, doors, stairs, or banners. You can also make a path or a bridge to connect your lighthouse to the land.
- Enjoy your lighthouse and admire the view from the top.
I hope this helps you build a lighthouse in Minecraft. Have fun!
22. Sewers
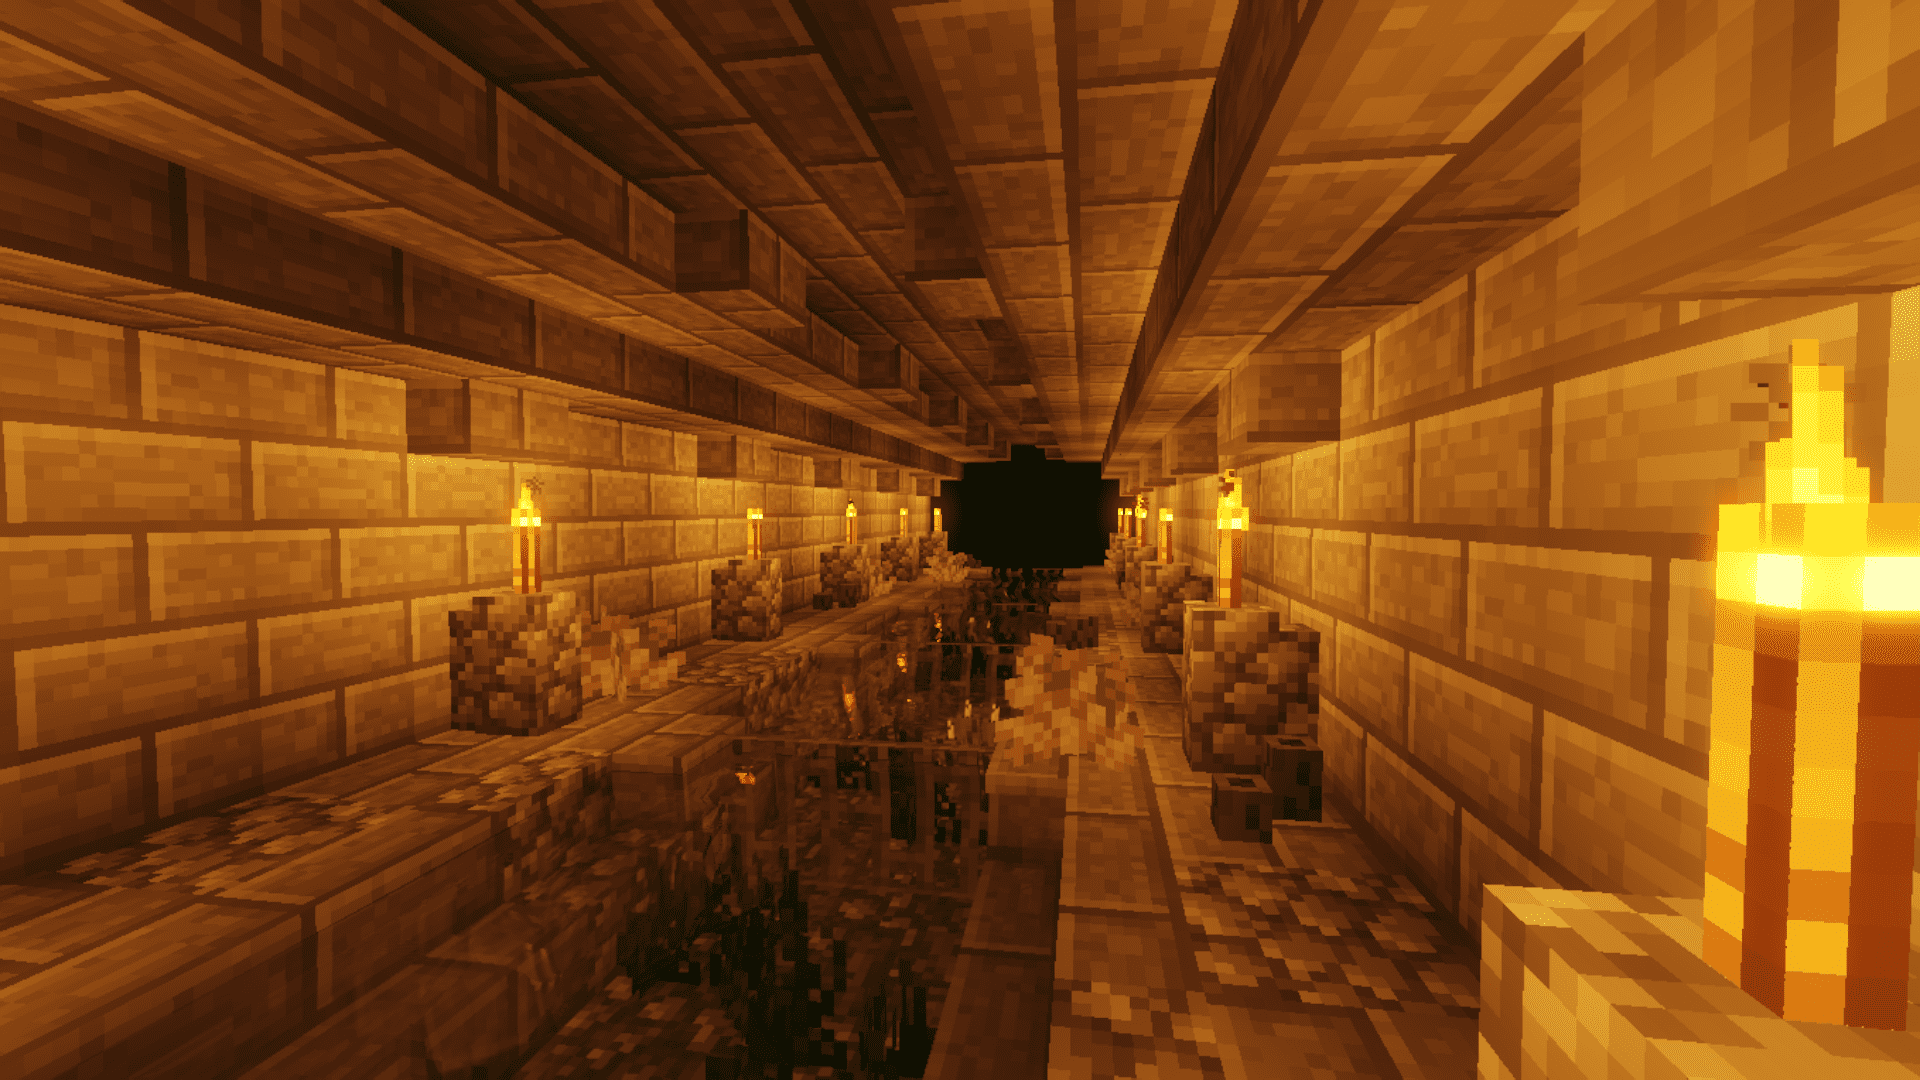
An underwater tunnel is a useful thing in Minecraft that can help you travel across water or explore the ocean. You can create an underwater tunnel by digging a tunnel and then filling it with water. You can also add some beautiful elements to make it look more interesting and lively. For example, you can use glass, coral, sea lanterns, or kelp to decorate your tunnel. You can also create hidden areas down there, where you can store your items, make a base, or find treasures. Creating an underwater tunnel in Minecraft is a fun and adventurous way to enjoy the water and the marine life.
Here are some steps to create an underwater tunnel in Minecraft:
- Choose a suitable location for your underwater tunnel, such as between two islands or under a lake.
- Dig a tunnel using the material of your choice. You can use a shovel or a pickaxe to dig faster and easier. You can also use TNT or sponge to clear large areas of water or dirt.
- Fill the tunnel with water using buckets or dispensers. You can also use commands or cheats to fill the tunnel with water instantly.
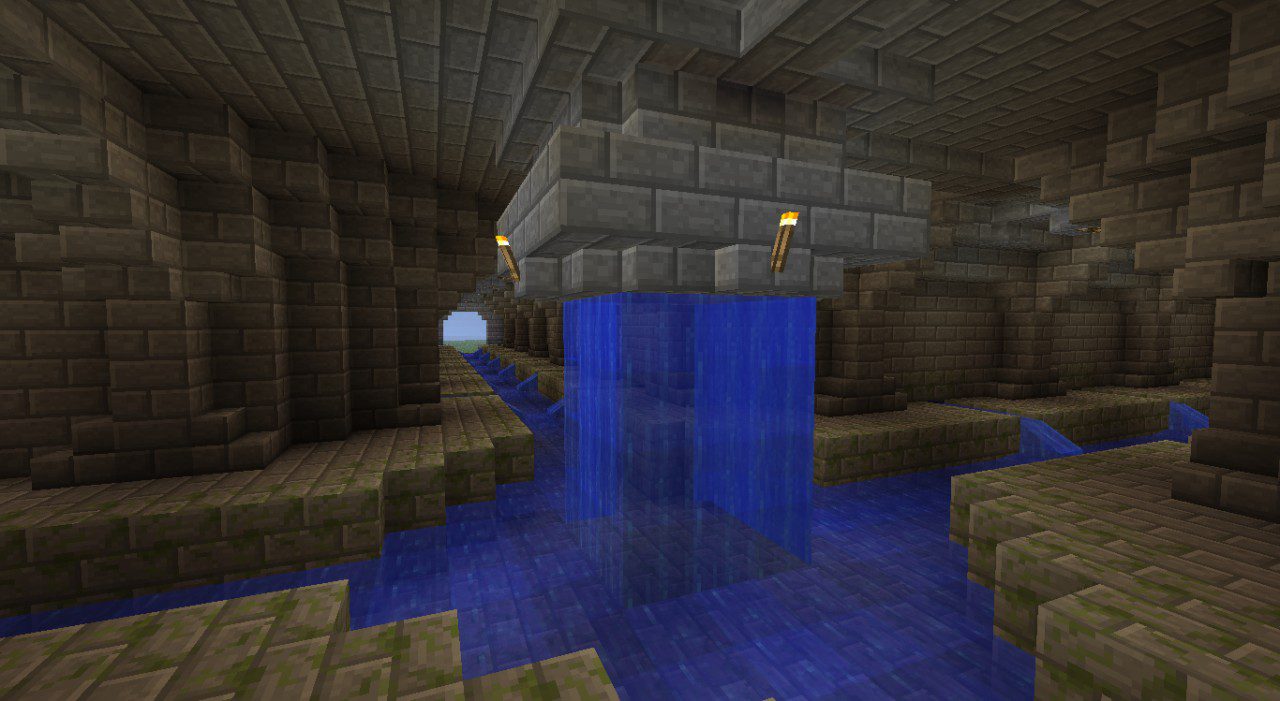
- Add some elements to make your tunnel look more interesting and lively. You can use glass, coral, sea lanterns, or kelp to decorate your tunnel. You can also use different colors and patterns to create your own style.
- Create hidden areas down there, where you can store your items, make a base, or find treasures. You can use doors, trapdoors, pistons, or redstone to make secret entrances or exits. You can also use chests, barrels, or shulker boxes to store your items. You can also explore the ocean and find shipwrecks, ruins, or monuments that contain valuable loot.
- Enjoy your underwater tunnel and admire the view from inside.
I hope this helps you create an underwater tunnel in Minecraft. Have fun!
23. Hospital
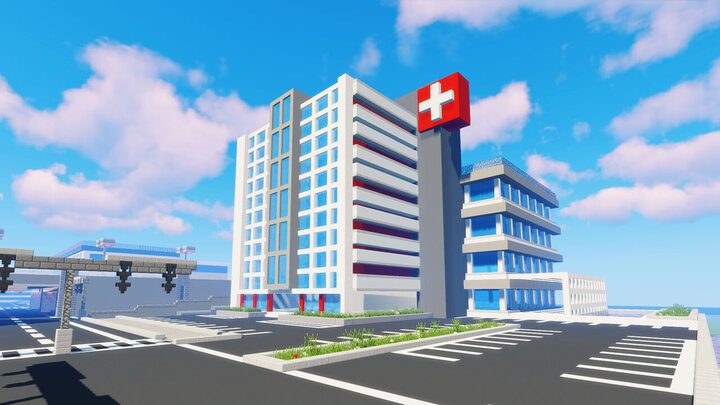
A hospital is a helpful thing to build in Minecraft that can provide you and your visitors with medical assistance whenever you need it. You can create a hospital that fits your needs and preferences. You can choose to make a big one and equip it with all the facilities, such as beds, medicine, surgery, or emergency. Or you can choose to make a small clinic if you want it on a smaller scale. You can use different materials and designs to make your hospital look more realistic and professional. You can also add some details and decorations to your hospital, such as signs, banners, or paintings. Building a hospital in Minecraft is a fun and useful way to take care of your health and your friends.
Here are some steps to build a hospital in Minecraft:
- Choose a suitable location for your hospital, such as near a village or a city.
- Make a foundation for your hospital using the material of your choice. You can use concrete, bricks, quartz, or any other material that you like.

- Build the walls and the roof of your hospital using the same material or a different one. You can make the walls and the roof flat or sloped, depending on your preference.
- Make the windows and the doors of your hospital using glass or wood. You can also use iron bars or fences to make the windows more secure.
- Divide the interior of your hospital into different rooms, such as reception, waiting area, examination room, surgery room, recovery room, or emergency room. You can use walls, doors, signs, or banners to separate the rooms.
- Add some facilities and equipment to your hospital, such as beds, chests, dispensers, brewing stands, cauldrons, anvils, or beacons. You can use these items to store or provide medicine, tools, or healing effects.
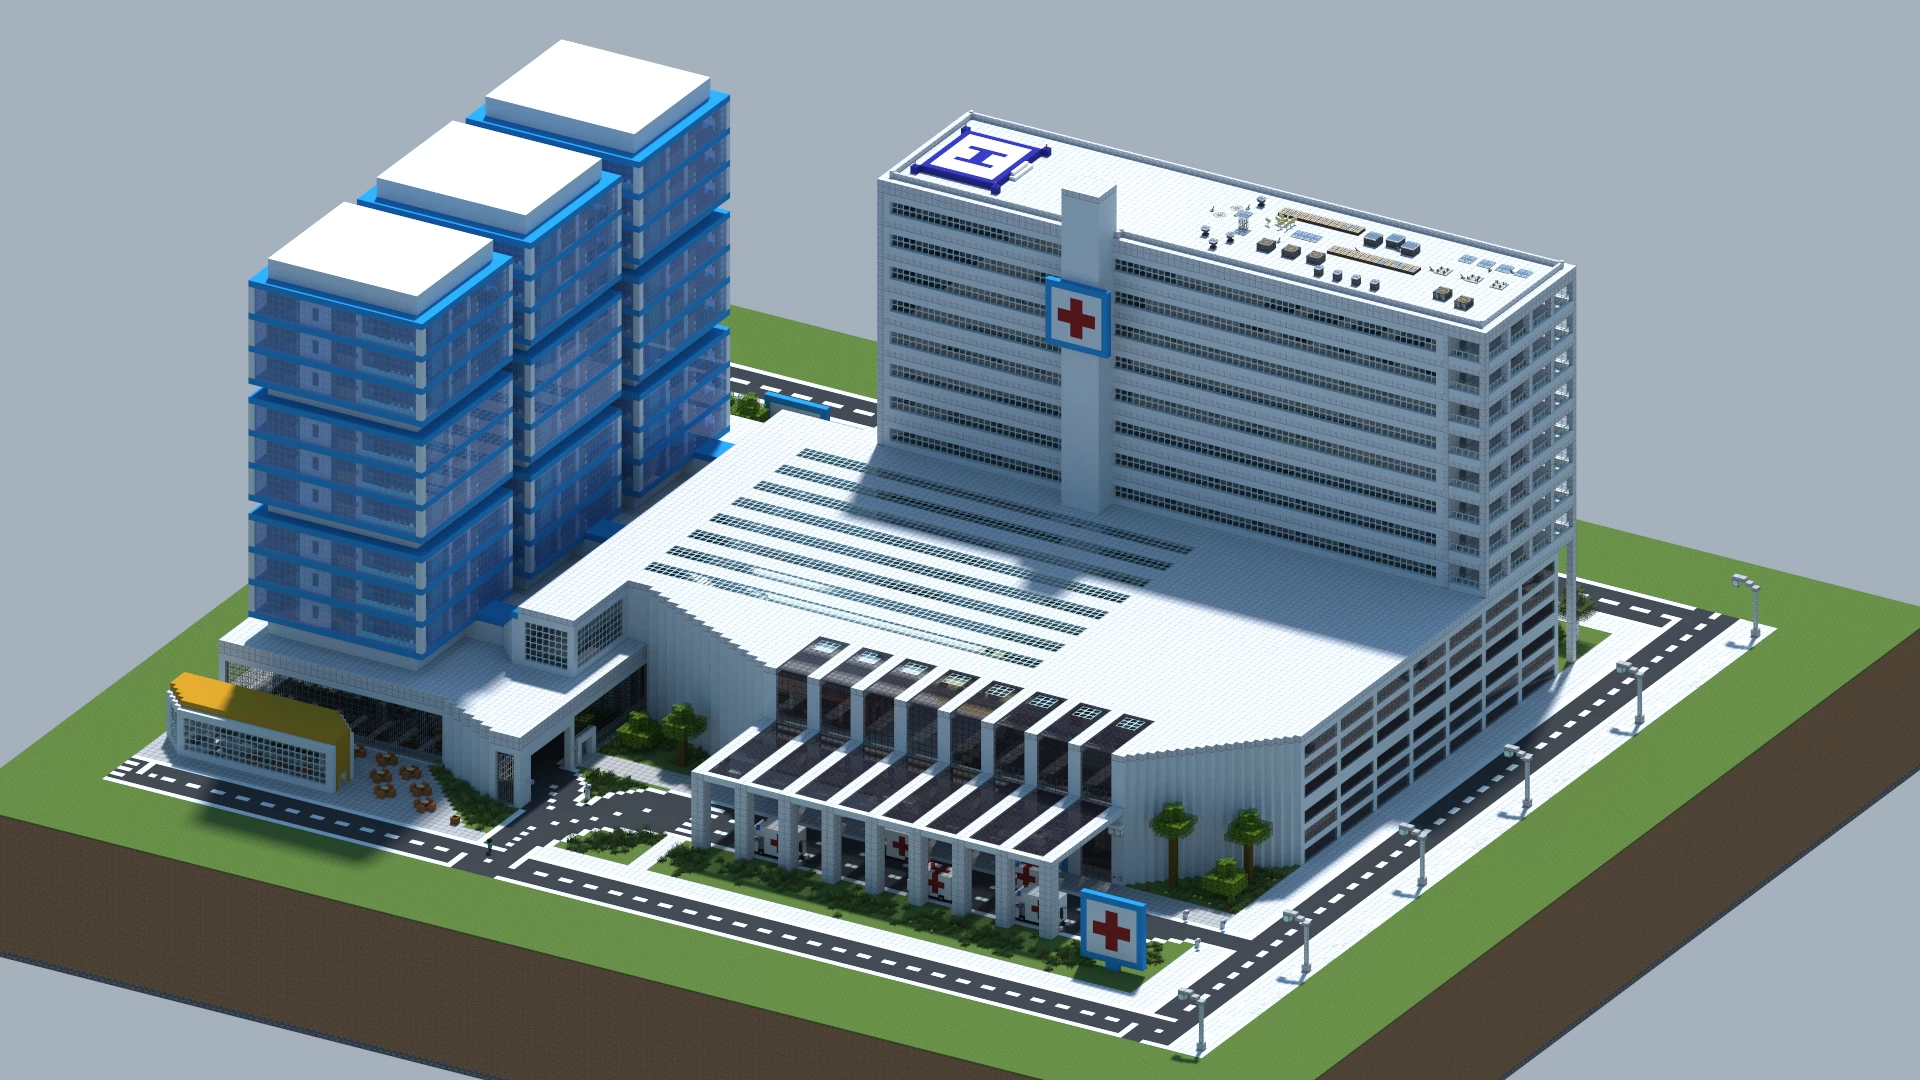
- Add some details and decorations to your hospital, such as paintings, flowers, carpets, or clocks. You can also use redstone lamps or glowstone to light up your hospital.
- Enjoy your hospital and take care of yourself and your friends.
24. Windmill

A windmill is a nice thing to build in Minecraft that can add some charm and functionality to your world. You can use a windmill to generate power, grind wheat, or pump water. You can also use different materials and designs to make your windmill look more realistic and unique. You can use wood, stone, wool, or concrete to create your windmill. You can also add some details and decorations to your windmill, such as windows, doors, fences, or flowers. Building a windmill in Minecraft is a fun and creative way to show your skills and style.
Here are some steps to build a windmill in Minecraft:
- Choose a suitable location for your windmill, such as on a hill or near a farm.
- Make a base for your windmill using the material of your choice. You can use wood, stone, bricks, or any other material that you like.
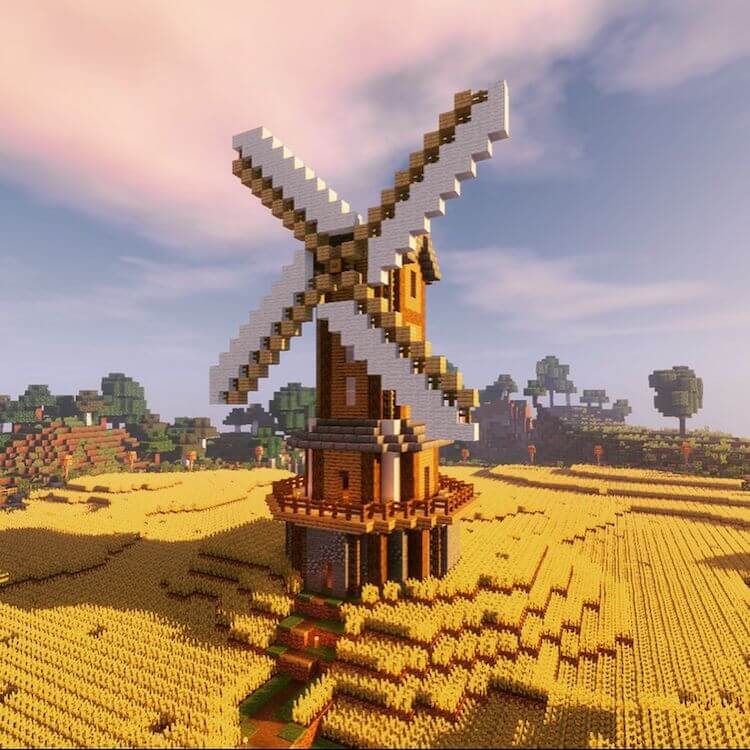
- Build the tower of your windmill using the same material or a different one. You can make the tower as tall or as short as you want.
- Make the roof of your windmill using stairs or slabs. You can make the roof flat or pointed, depending on your preference.
- Make the blades of your windmill using wool or concrete. You can use different colors and patterns to create your own style. You can also use commands or redstone to make the blades spin.
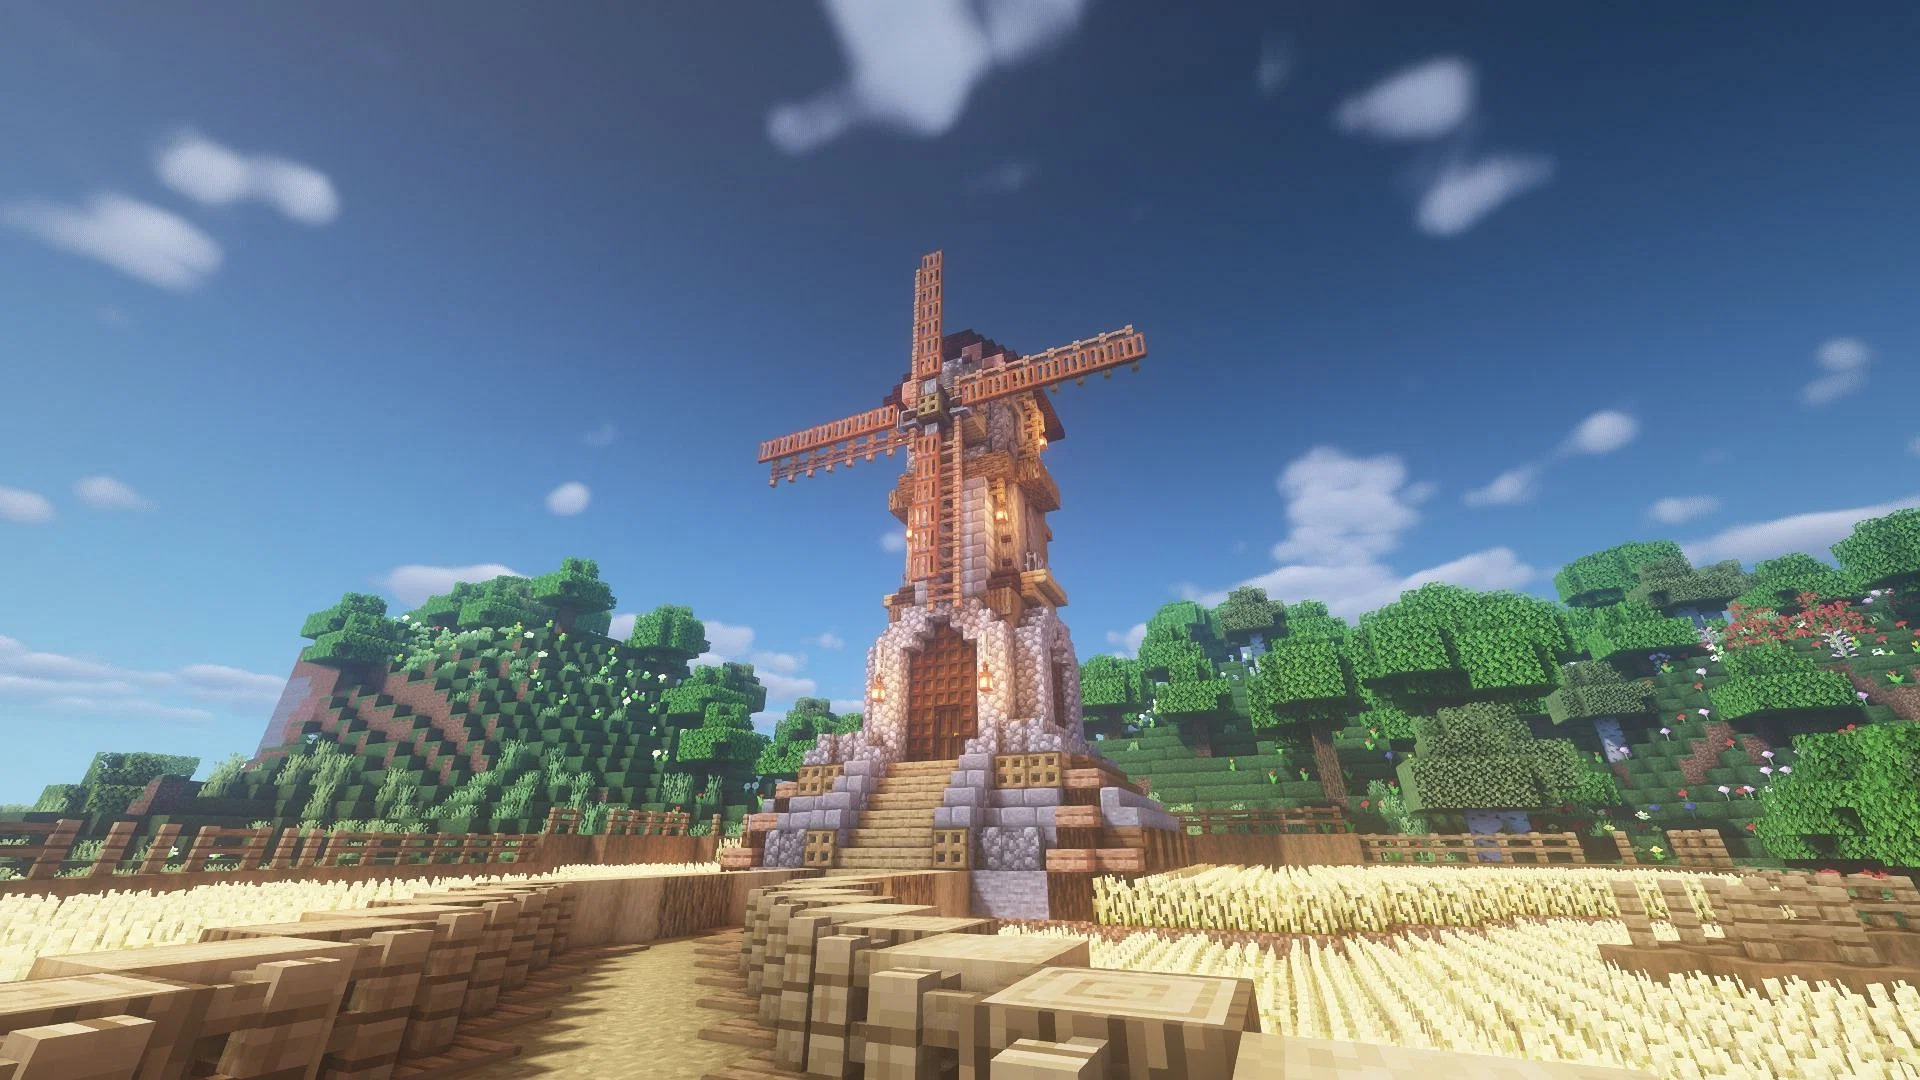
- Add some details and decorations to your windmill, such as windows, doors, fences, or flowers. You can also use torches, lanterns, or glowstone to light up your windmill.
- Enjoy your windmill and admire the view from the top.
25. Courthouse
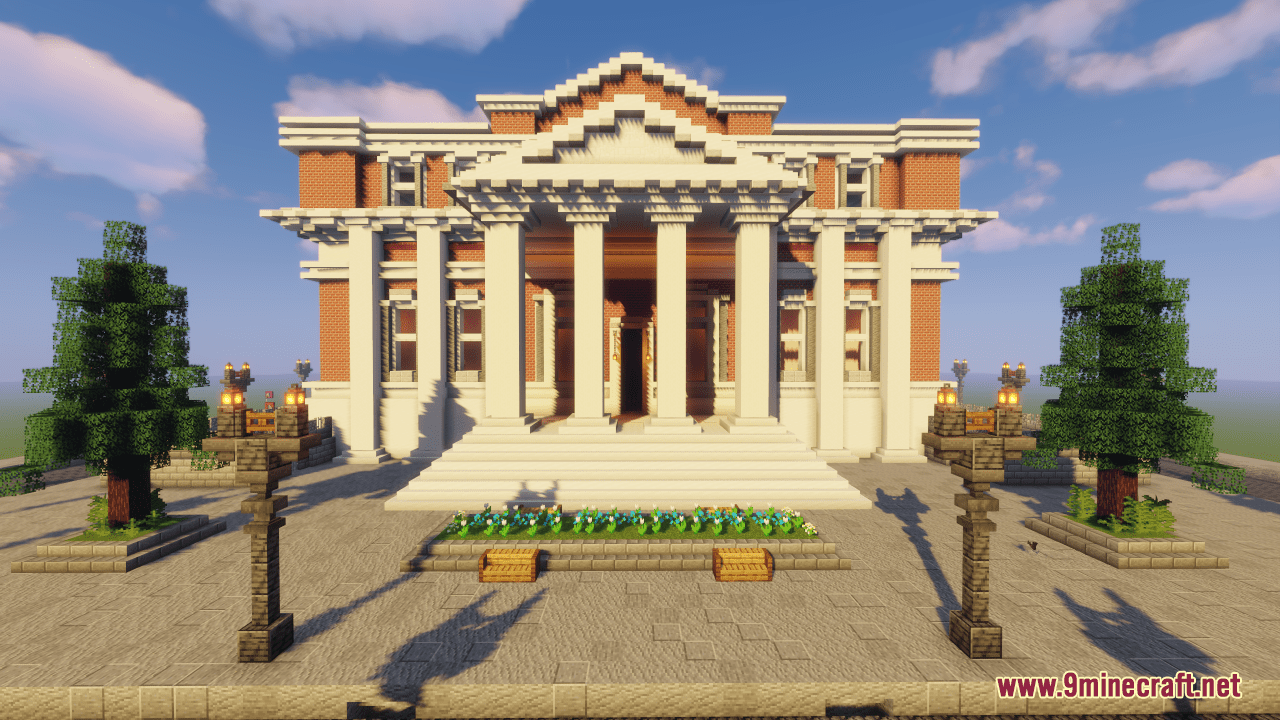
A courthouse is an impressive thing to build in Minecraft that can add some justice and order to your world. You can use a courthouse to hold trials, settle disputes, or enforce laws. You can also use different materials and designs to make your courthouse look more realistic and majestic. You can use quartz, stone, concrete, or wood to create your courthouse. You can also add some details and decorations to your courthouse, such as pillars, arches, flags, or paintings. Building a courthouse in Minecraft is a fun and creative way to show your skills and style.
Here are some steps to build a courthouse in Minecraft:
- Choose a suitable location for your courthouse, such as in a city or a village.
- Make a foundation for your courthouse using the material of your choice. You can use quartz, stone, concrete, or any other material that you like.
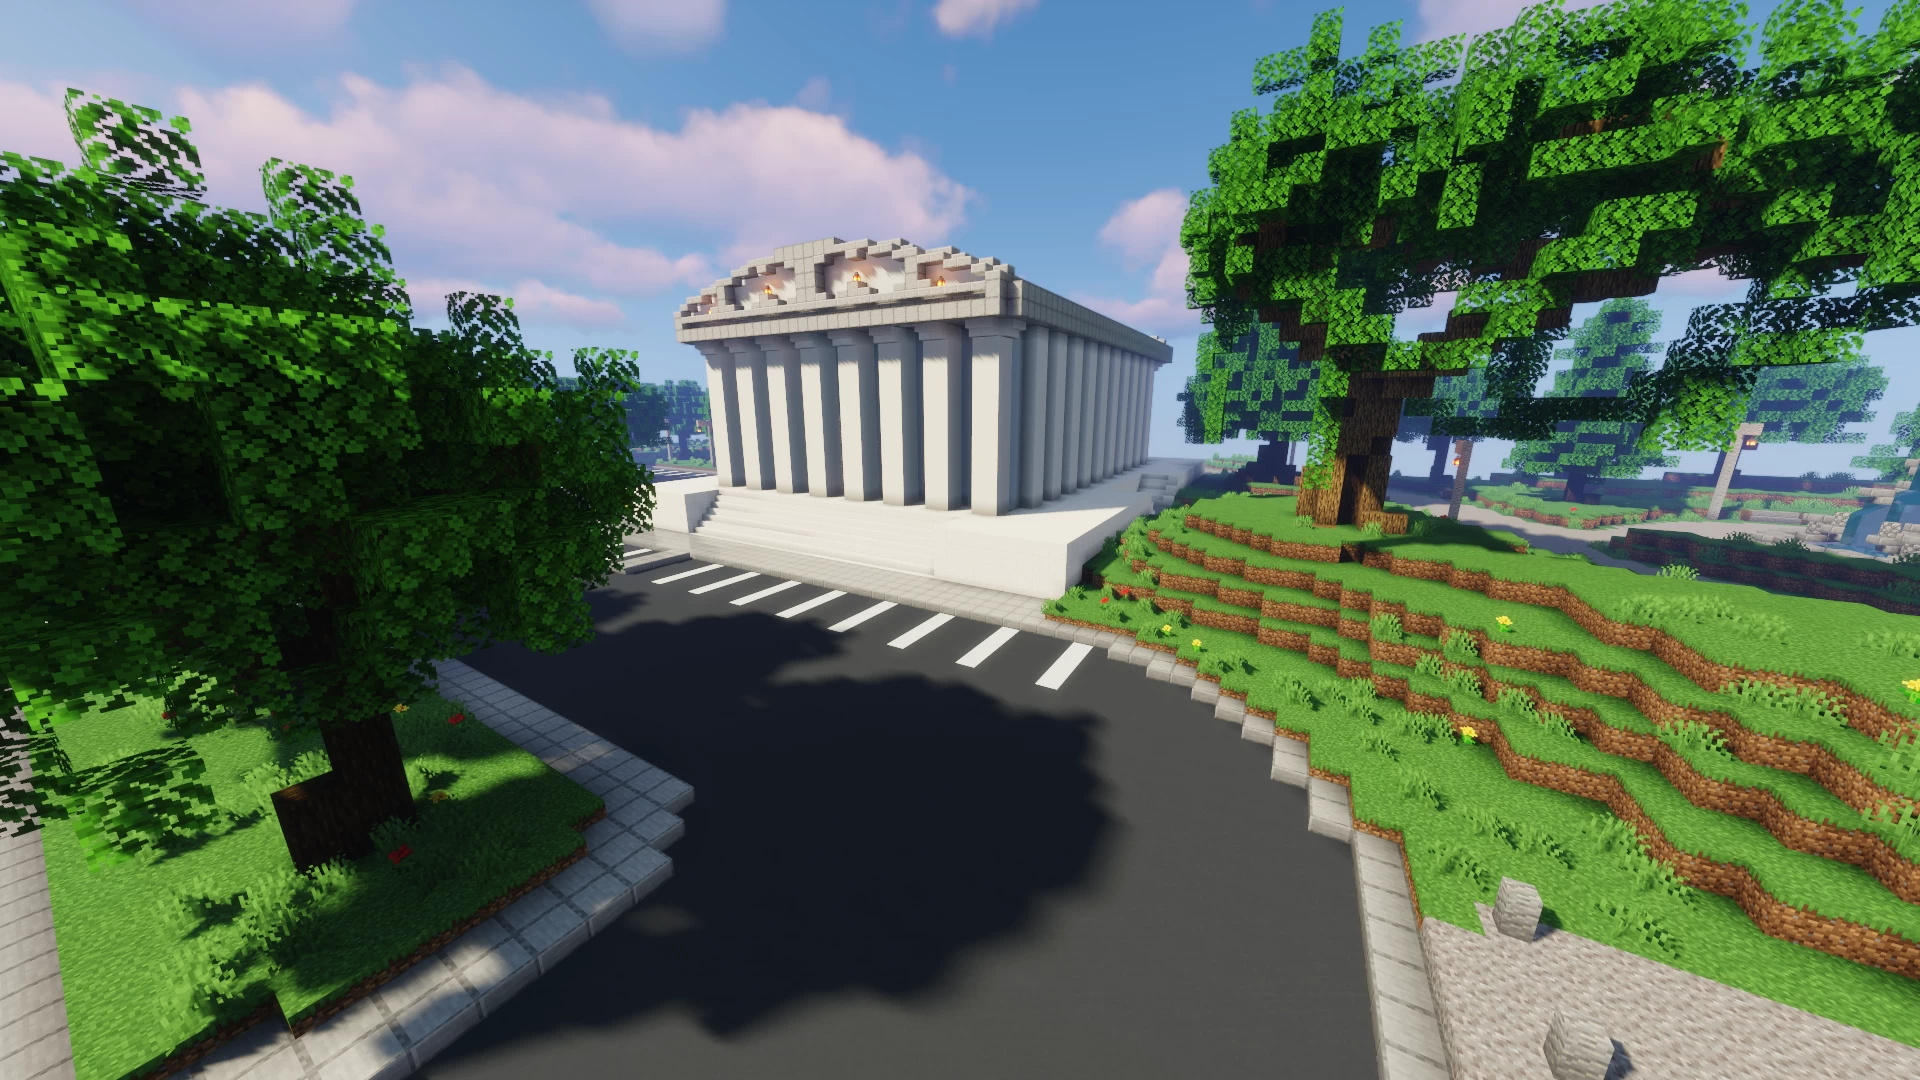
- Build the walls and the roof of your courthouse using the same material or a different one. You can make the walls and the roof flat or sloped, depending on your preference.
- Make the entrance of your courthouse using stairs or slabs. You can also use pillars, arches, or flags to make the entrance more grand and elegant.
- Divide the interior of your courthouse into different rooms, such as lobby, courtroom, judge’s chamber, or jail. You can use walls, doors, signs, or banners to separate the rooms.
- Add some furniture and equipment to your courthouse, such as benches, tables, chairs, podiums, or levers. You can use these items to create a realistic and functional courtroom where you can hold trials and make decisions.

- Add some details and decorations to your courthouse, such as paintings, carpets, clocks, or books. You can also use redstone lamps or glowstone to light up your courthouse.
- Enjoy your courthouse and uphold the law and order in your world.
26. Ferris Wheel

A Ferris wheel is a fun thing to build in Minecraft that can add some amusement and excitement to your world. You can use a Ferris wheel to enjoy the view, ride with your friends, or create a carnival. You can also use different materials and designs to make your Ferris wheel look more realistic and colorful. You can use iron, wood, wool, or concrete to create your Ferris wheel. You can also add some details and decorations to your Ferris wheel, such as lights, carts, or flags. Building a Ferris wheel in Minecraft is a fun and creative way to show your skills and style.
Here are some steps to build a Ferris wheel in Minecraft:
- Choose a suitable location for your Ferris wheel, such as near a park or a lake.
- Make a base for your Ferris wheel using the material of your choice. You can use iron, wood, concrete, or any other material that you like.
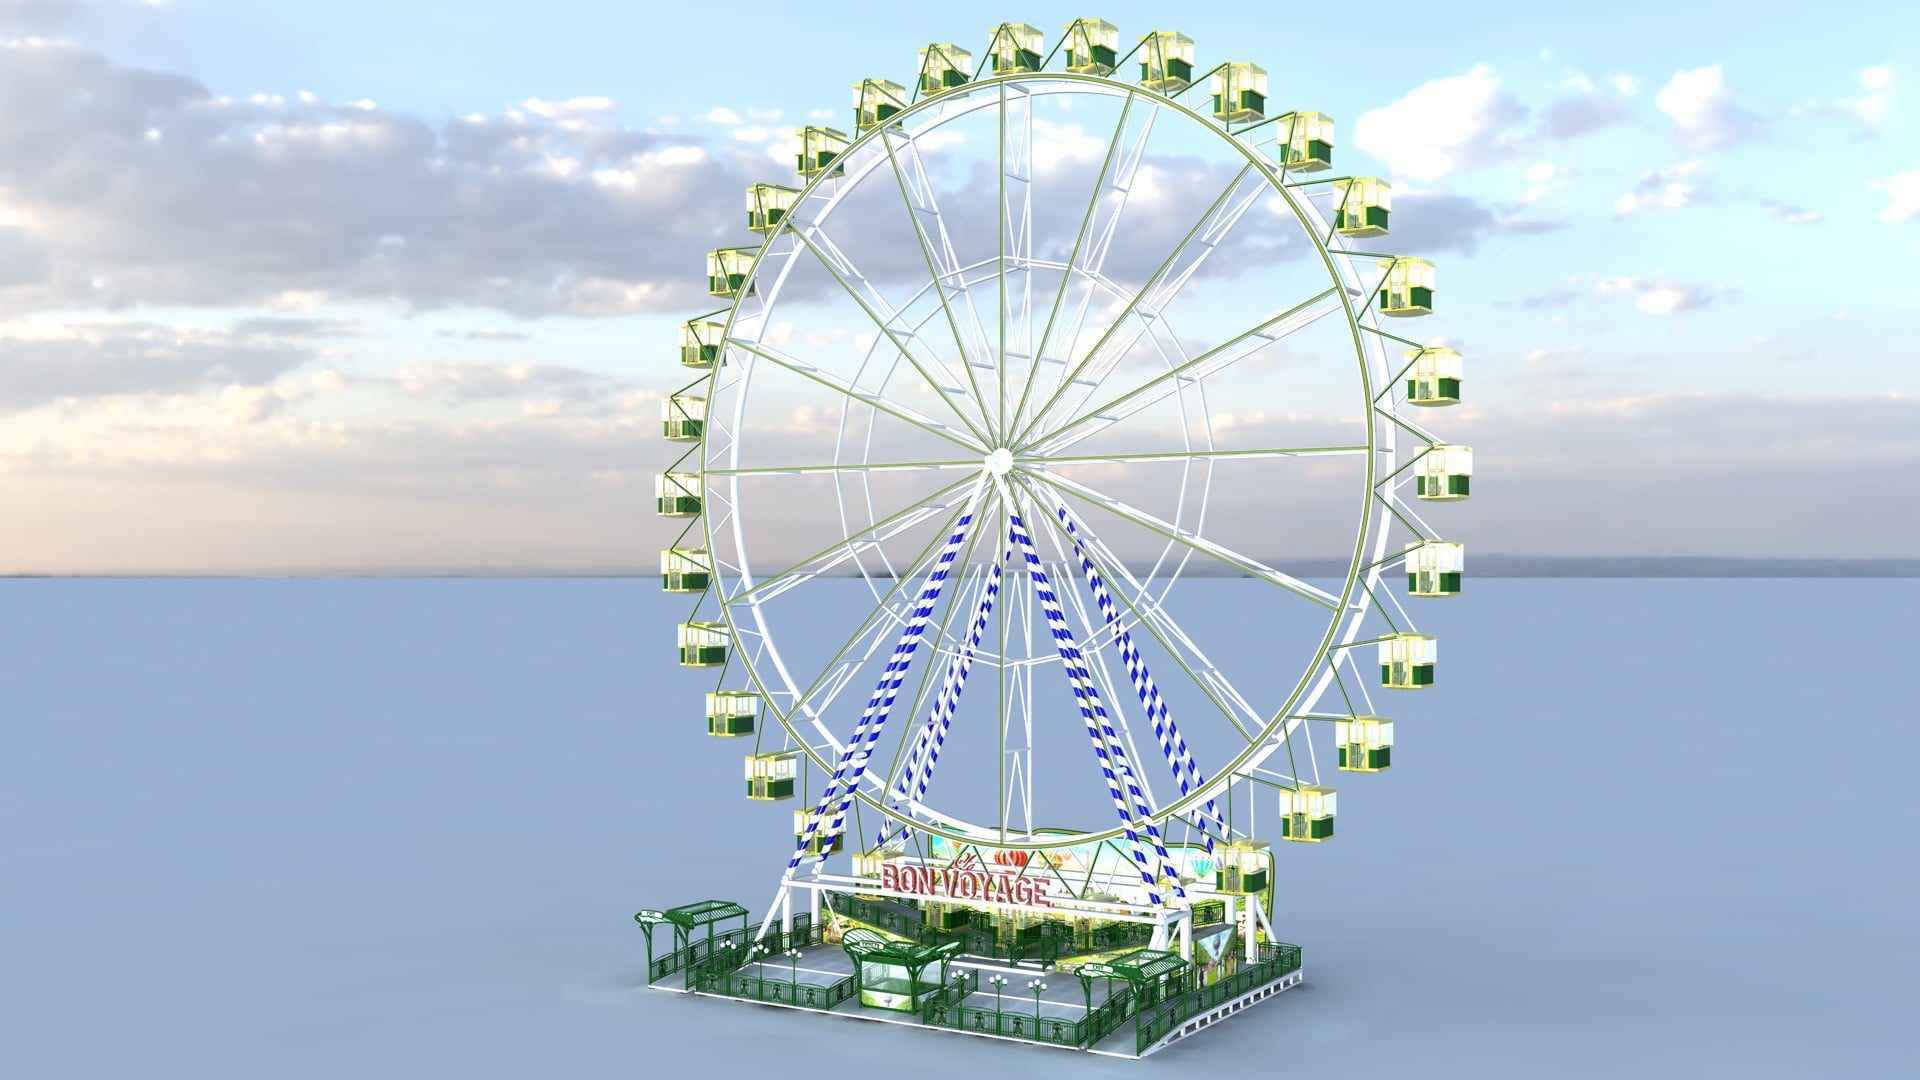
- Build the frame of your Ferris wheel using the same material or a different one. You can make the frame as large or as small as you want.
- Make the spokes of your Ferris wheel using iron bars or fences. You can use commands or redstone to make the spokes rotate.
- Make the carts of your Ferris wheel using minecarts or boats. You can also use rails or water to make the carts move along the spokes.
- Add some elements to make your Ferris wheel look more interesting and colorful. You can use wool, concrete, glass, or glowstone to decorate your Ferris wheel. You can also use different colors and patterns to create your own style.
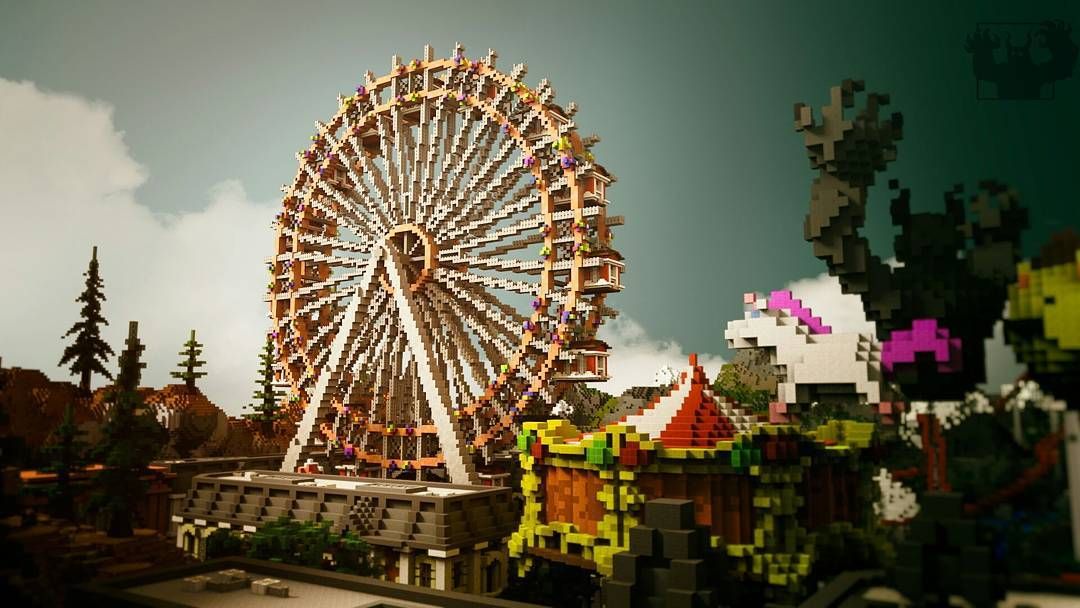
- Add some details and decorations to your Ferris wheel, such as lights, signs, flags, or balloons. You can also use torches, lanterns, redstone lamps, or sea lanterns to light up your Ferris wheel.
- Enjoy your Ferris wheel and admire the view from the top.
27. Wooden Dojo
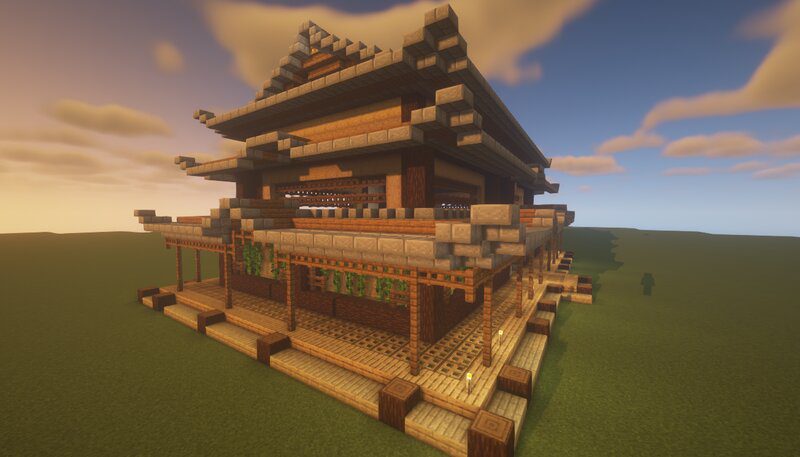
A wooden dojo is a beautiful thing to build in Minecraft that can add some culture and elegance to your world. You can use a wooden dojo to practice martial arts, meditate, or host ceremonies. You can also use different materials and designs to make your wooden dojo look more realistic and authentic. You can use wood, bamboo, paper, or wool to create your wooden dojo. You can also add some details and decorations to your wooden dojo, such as lanterns, banners, paintings, or bonsai trees. Building a wooden dojo in Minecraft is a fun and creative way to show your skills and style.
Here are some steps to build a wooden dojo in Minecraft:
- Choose a suitable location for your wooden dojo, such as on a mountain or near a forest.
- Make a foundation for your wooden dojo using the material of your choice. You can use wood planks, logs, slabs, or any other material that you like.
- Build the walls and the roof of your wooden dojo using the same material or a different one. You can make the walls and the roof flat or sloped, depending on your preference.
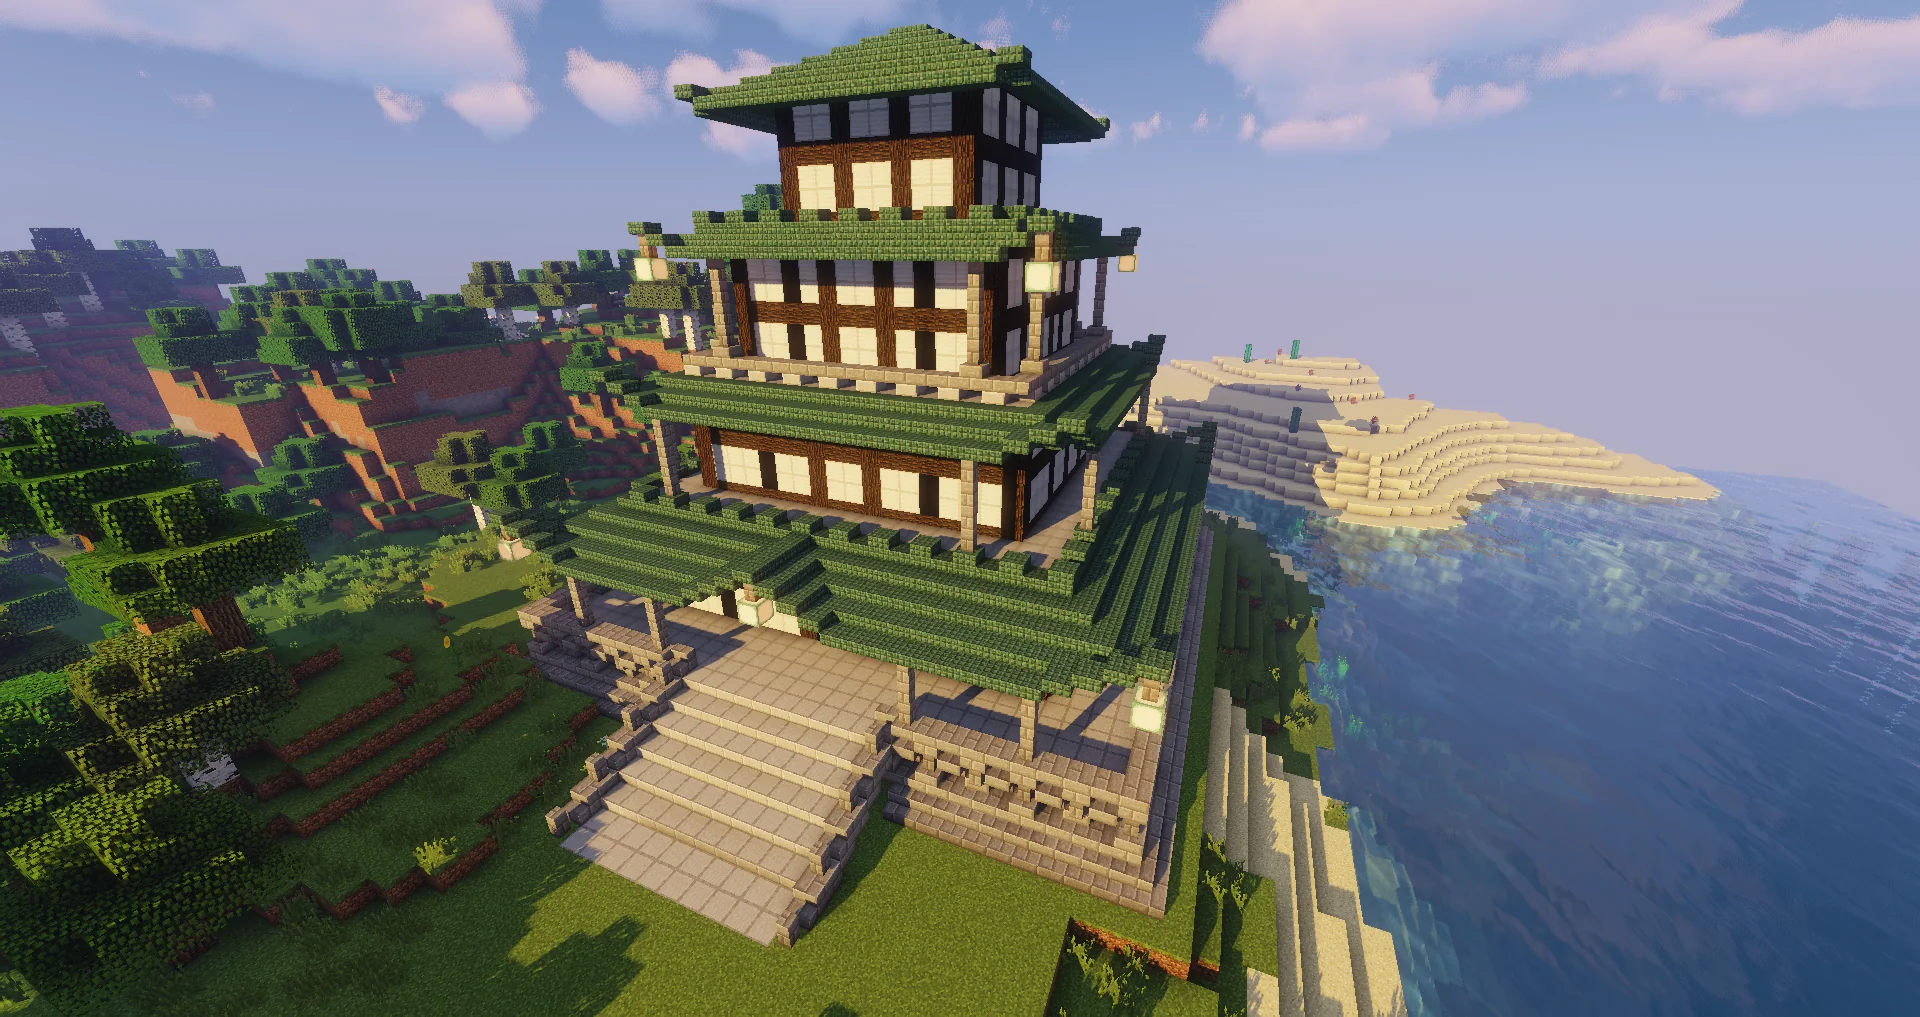
- Make the entrance of your wooden dojo using doors or trapdoors. You can also use fences or gates to make the entrance more secure and elegant.
- Divide the interior of your wooden dojo into different areas, such as training area, meditation area, or ceremony area. You can use walls, doors, signs, or banners to separate the areas.
- Add some furniture and equipment to your wooden dojo, such as mats, chests, armor stands, or weapons. You can use these items to create a realistic and functional dojo where you can practice martial arts or meditate.
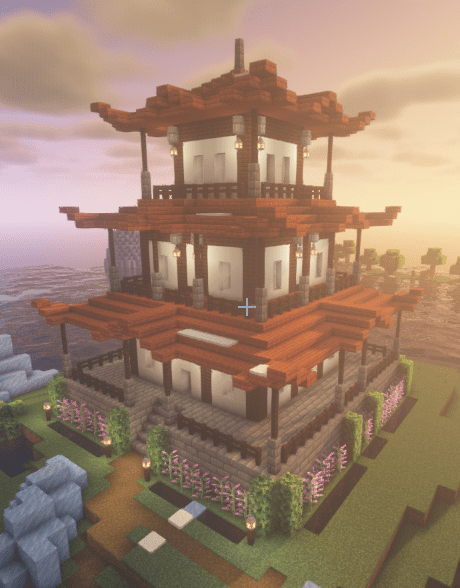
- Add some details and decorations to your wooden dojo, such as lanterns, banners, paintings, or bonsai trees. You can also use torches, glowstone, or redstone lamps to light up your wooden dojo.
- Enjoy your wooden dojo and admire the view from inside.
28. Dam
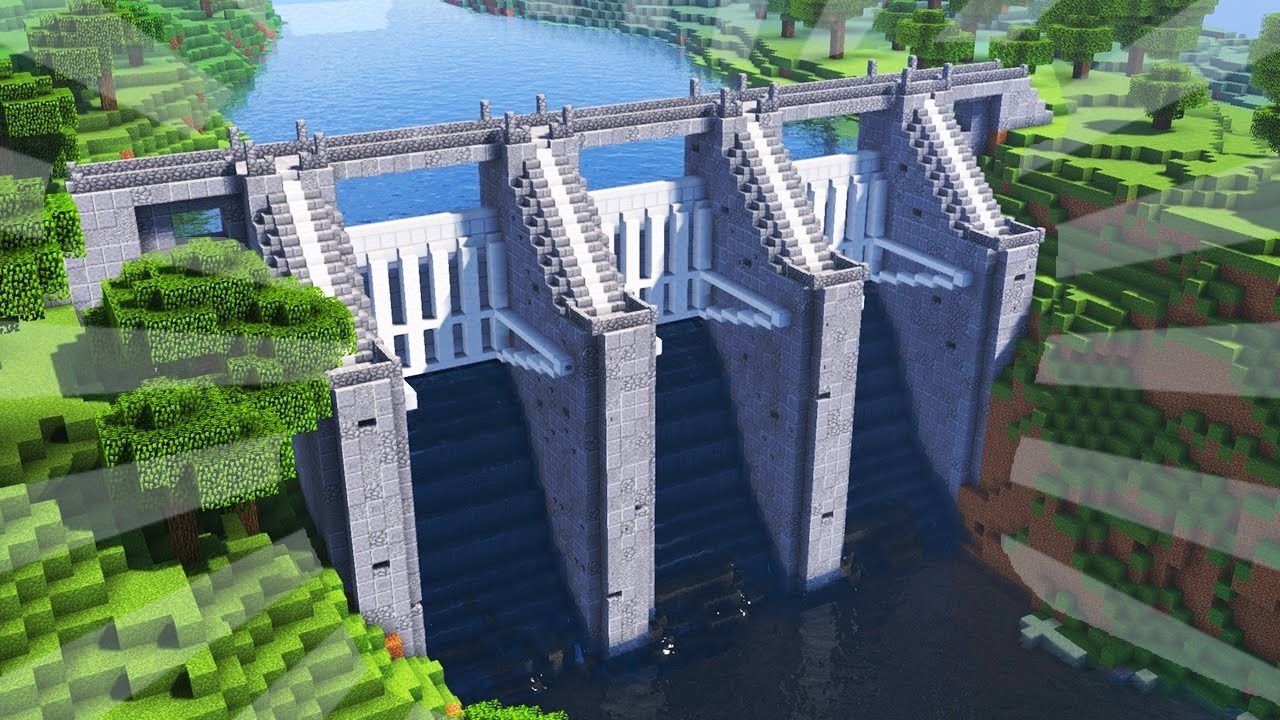
A dam is an amazing thing to build in Minecraft that can add some power and control to your world. You can use a dam to generate electricity, store water, or prevent flooding. You can also use different materials and designs to make your dam look more realistic and impressive. You can use stone, concrete, iron, or wood to create your dam. You can also add some details and decorations to your dam, such as levers, pistons, redstone, or signs. Building a dam in Minecraft is a fun and creative way to show your skills and style.
Here are some steps to build a dam in Minecraft:
- Choose a suitable location for your dam, such as near a river or a lake.
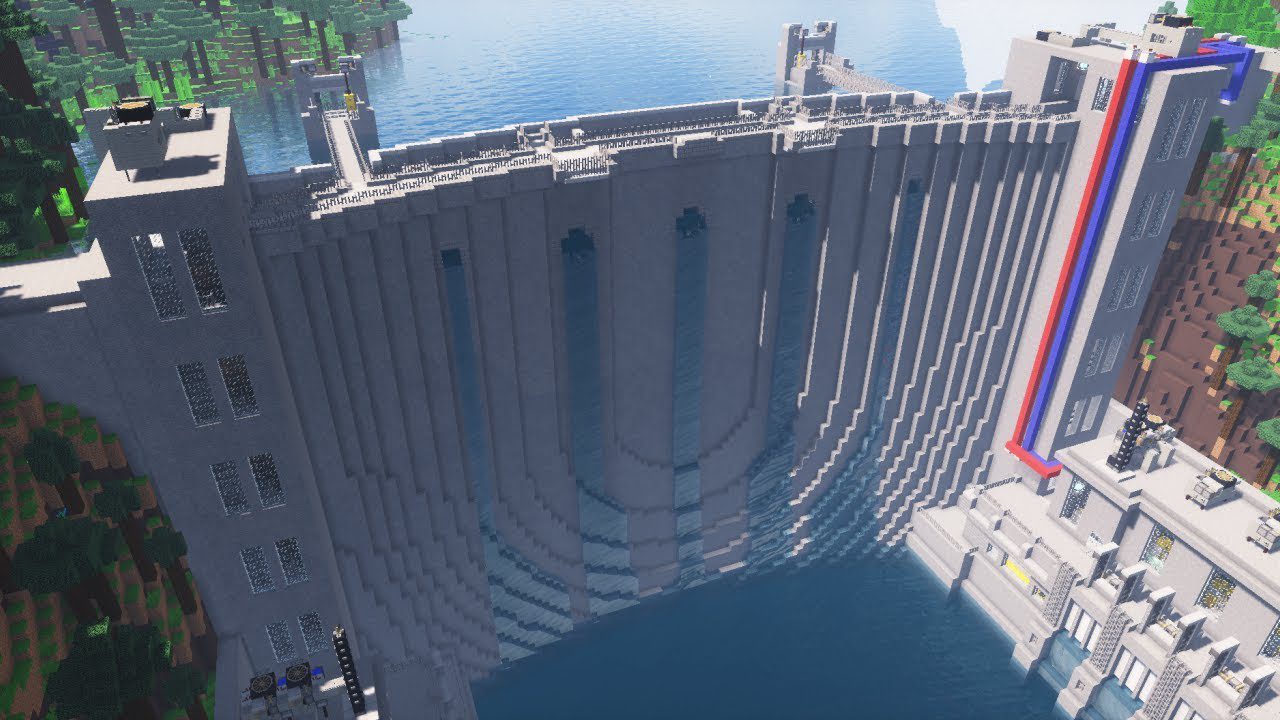
- Make a wall for your dam using the material of your choice. You can use stone, concrete, iron, or any other material that you like.
- Build the wall across the water source, leaving some gaps for the water to flow through. You can also make the wall curved or straight, depending on your preference.
- Make the gates for your dam using levers, pistons, or trapdoors. You can use these items to control the water flow and the water level.
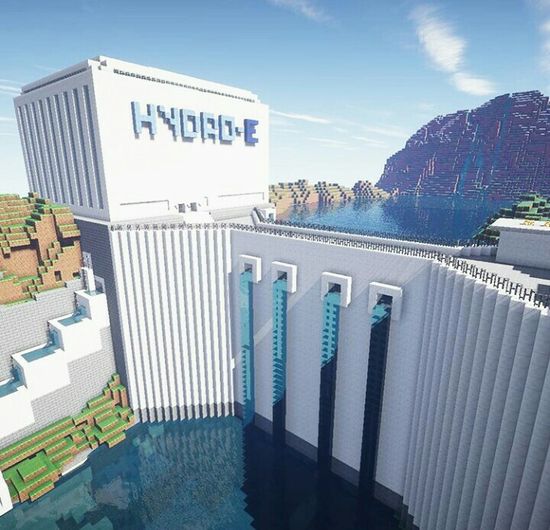
- Add some turbines and generators to your dam using iron bars, redstone, or repeaters. You can use these items to create electricity from the water flow and power your devices.
- Add some details and decorations to your dam, such as signs, lights, ladders, or fences. You can also use torches, lanterns, redstone lamps, or sea lanterns to light up your dam.
- Enjoy your dam and admire the view from the top.
29. Auto Smelter

An auto smelter is a handy thing to build in Minecraft that can save you time and fuel. You can use an auto smelter to smelt your items automatically, without having to manually load and unload them. You can also use different materials and designs to make your auto smelter look more realistic and efficient. You can use hoppers, furnaces, chests, or droppers to create your auto smelter. You can also add some details and decorations to your auto smelter, such as signs, buttons, levers, or redstone. Building an auto smelter in Minecraft is a fun and creative way to show your skills and style.
Here are some steps to build an auto smelter in Minecraft:
- Choose a suitable location for your auto smelter, such as near a mine or a farm.
- Make a base for your auto smelter using the material of your choice. You can use stone, wood, concrete, or any other material that you like.
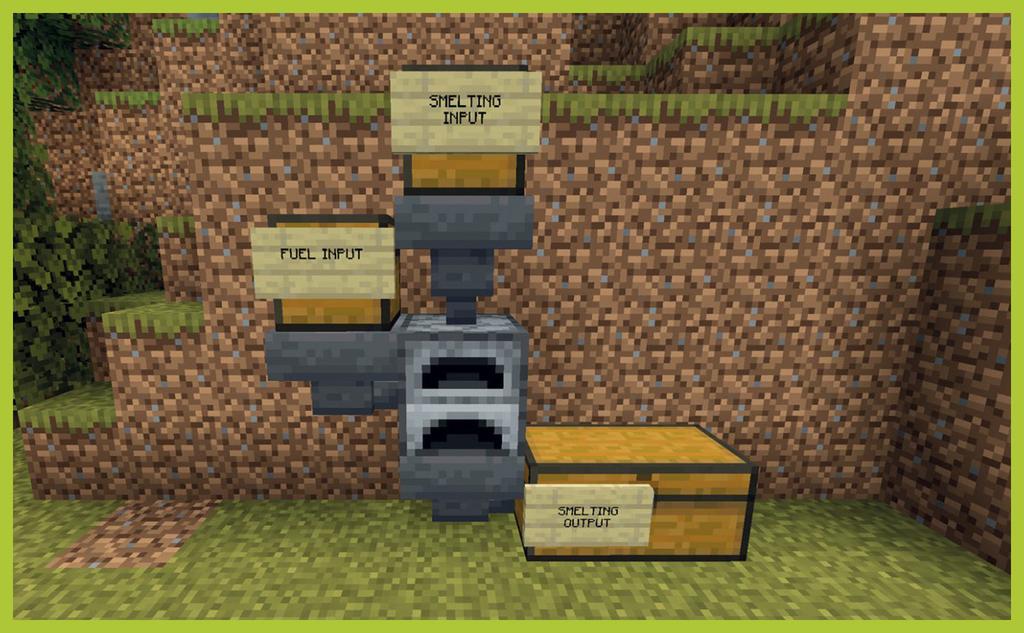
- Place two chests on the base, one for the input and one for the output. You can also use signs or banners to label them.
- Place two hoppers on top of the input chest, one for the items and one for the fuel. You can also use buttons or levers to control the hoppers.
- Place two furnaces on top of the hoppers, one for each hopper. You can also use droppers or dispensers to load or unload the furnaces.
- Place two hoppers on the back of the furnaces, one for each furnace. These hoppers will collect the smelted items from the furnaces and transfer them to the output chest.
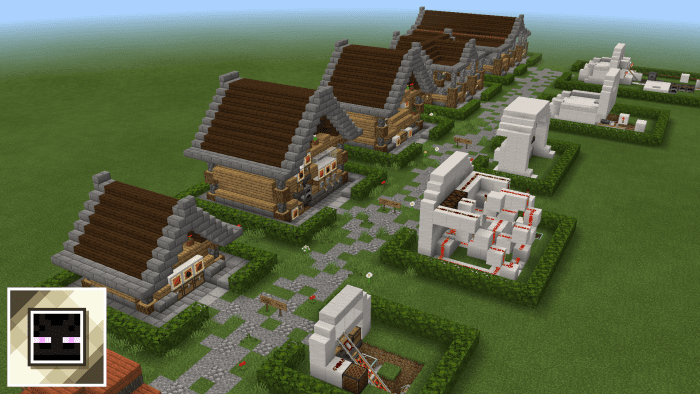
- Connect the hoppers to the output chest using pipes or rails. You can also use redstone or repeaters to power the pipes or rails.
- Add some details and decorations to your auto smelter, such as signs, buttons, levers, or redstone. You can also use torches, lanterns, redstone lamps, or glowstone to light up your auto smelter.
- Enjoy your auto smelter and smelt your items automatically.
30. Bunk Bed

A bunk bed is a cozy thing to build in Minecraft that can save you space and add some comfort to your bedroom. You can use a bunk bed to sleep with your friends, store your items, or decorate your room. You can also use different materials and designs to make your bunk bed look more realistic and stylish. You can use wood, wool, carpet, or banners to create your bunk bed. You can also add some details and decorations to your bunk bed, such as pillows, blankets, signs, or paintings. Building a bunk bed in Minecraft is a fun and creative way to show your skills and style.
Here are some steps to build a bunk bed in Minecraft:
- Choose a suitable location for your bunk bed, such as in your house or a cabin.
- Make a frame for your bunk bed using the material of your choice. You can use wood planks, logs, slabs, or any other material that you like.
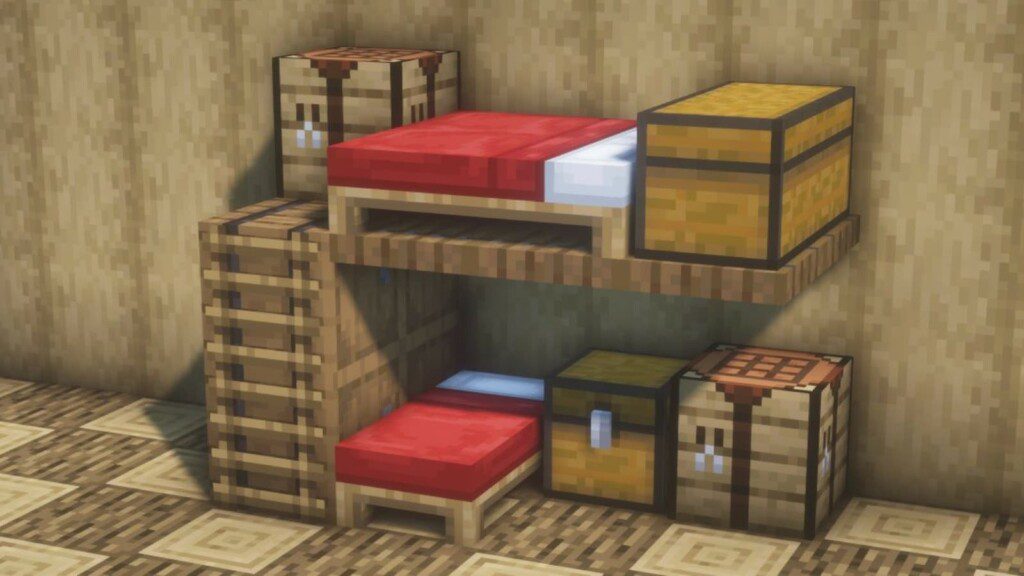
- Build the frame into a rectangular shape, leaving some space for the ladder and the headboard. You can also make the frame as long or as wide as you want.
- Make the ladder for your bunk bed using fences or ladders. You can also use signs or banners to label the ladder.
- Make the headboard for your bunk bed using the same material or a different one. You can also use stairs or slabs to make the headboard more curved or sloped.
- Make the beds for your bunk bed using beds or wool. You can use different colors and patterns to create your own style. You can also use carpet or banners to cover the beds.
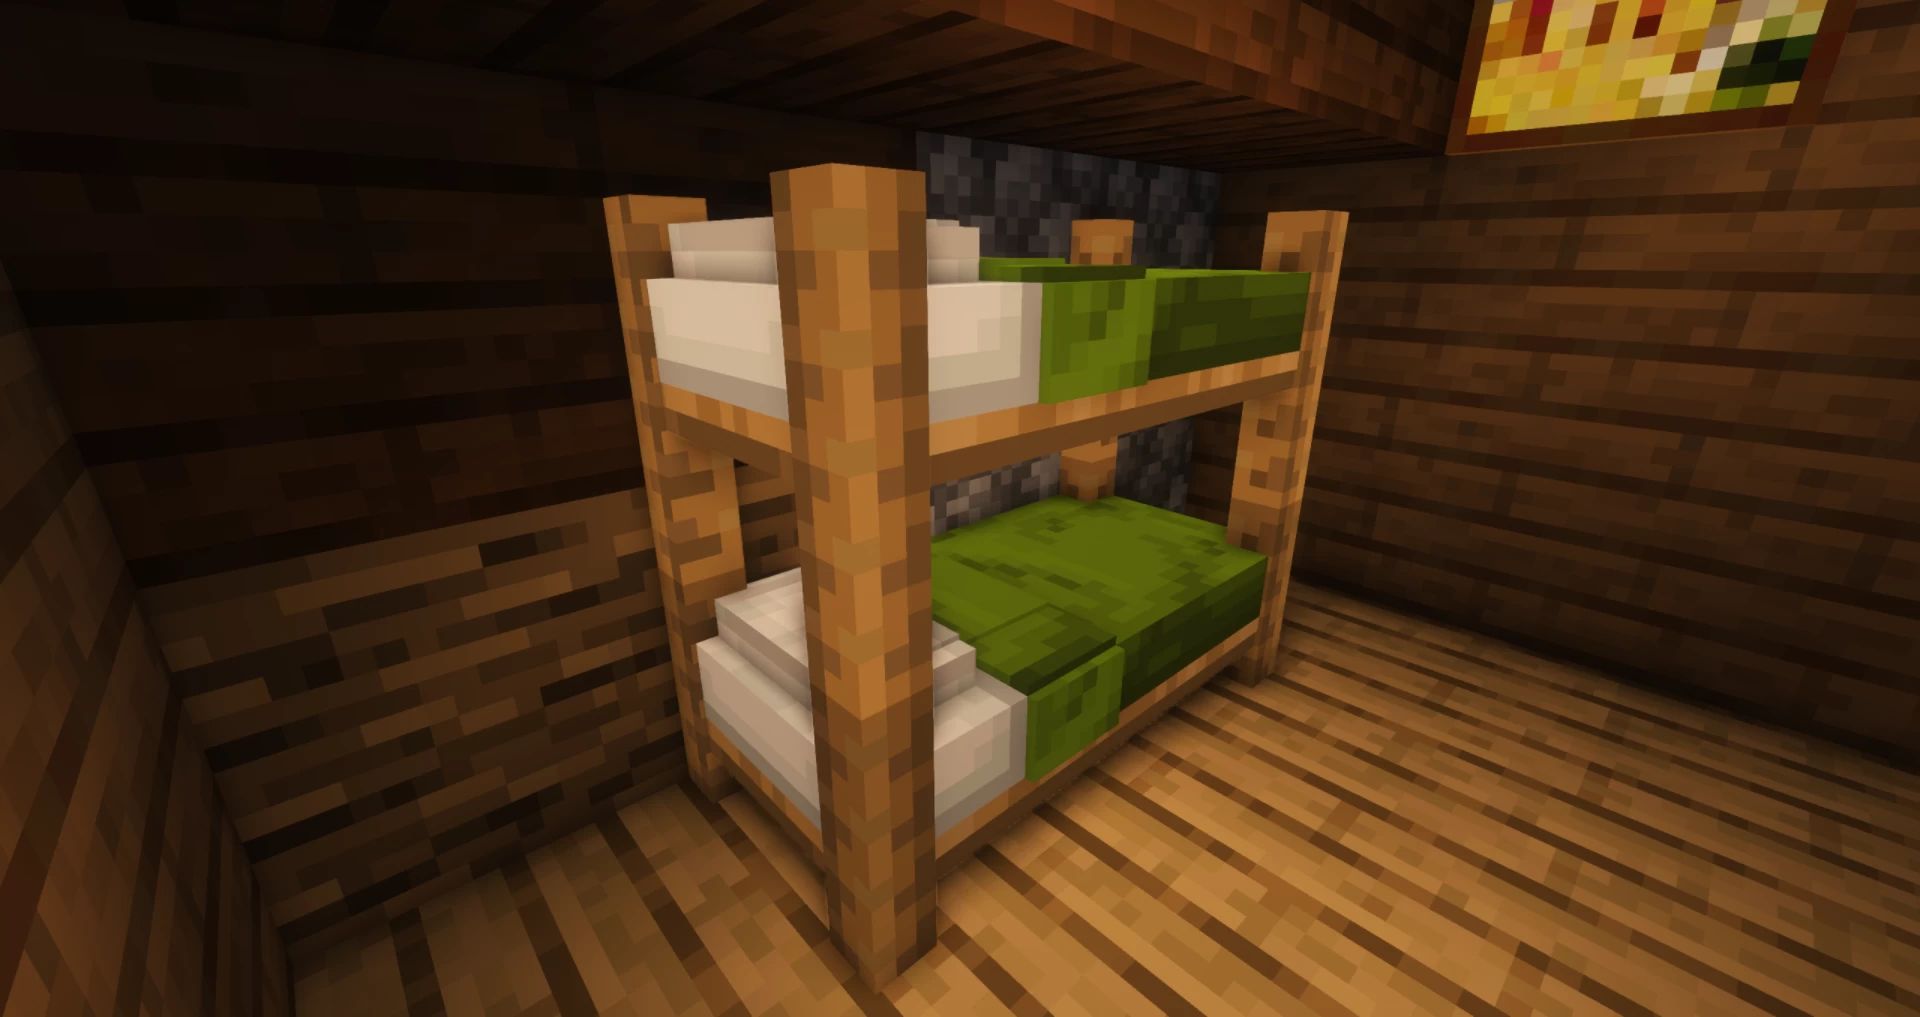
- Add some details and decorations to your bunk bed, such as pillows, blankets, signs, or paintings. You can also use torches, lanterns, redstone lamps, or glowstone to light up your bunk bed.
- Enjoy your bunk bed and sleep with your friends.


