Shelter Decorated Pot – Wiki Guide
This Minecraft tutorial explains how to craft a Shelter Decorated Pot with screenshots and step-by-step instructions.
In Minecraft, a Shelter Decorated Pot is a new decoration item that was introduced in Minecraft 1.20. It is a brown pottery item that features a picture of a tree on the side of the Decorated Pot.

Let’s explore how to make a Shelter Decorated Pot.
Required Materials to make a Shelter Decorated Pot
In Minecraft, these are the materials you can use to craft a Shelter Decorated Pot:
4 Shelter Pottery Sherds
How to craft a Shelter Decorated Pot in Survival Mode
1. Open the Crafting Menu
First, open your crafting table so that you have the 3×3 crafting grid that looks like this:
2. Add Items to make a Shelter Decorated Pot
In the crafting menu, you should see a crafting area that is made up of a 3×3 crafting grid. To make a Shelter Decorated Pot, place 4 Shelter Pottery Sherds in the 3×3 crafting grid.
When making a Shelter Decorated Pot, it is important that the Shelter Pottery Sherds are placed in the exact pattern as the image below. In the first row, there should be 1 Shelter Pottery Sherd in the second box. In the second row, there should be 1 Shelter Pottery Sherd in the first box and 1 Shelter Pottery Sherd in the third box. In the third row, there should be 1 Shelter Pottery Sherd in the second box. This is the Minecraft crafting recipe for a Shelter Decorated Pot.
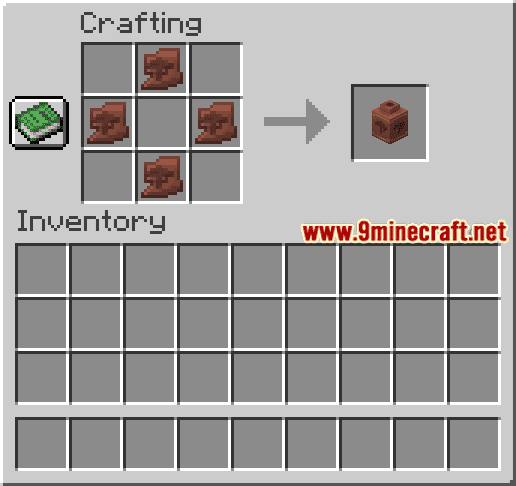
NOTE: There are 4 sides on a Decorated Pot. You can replace any of the Shelter Pottery Sherds with either a brick or another type of Pottery Sherd to create your own unique design.
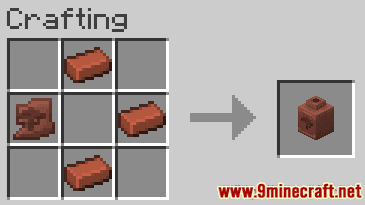
For example: (only one Shelter side)
Now that you have filled the crafting area with the correct pattern, the Shelter Decorated Pot will appear in the box to the right.
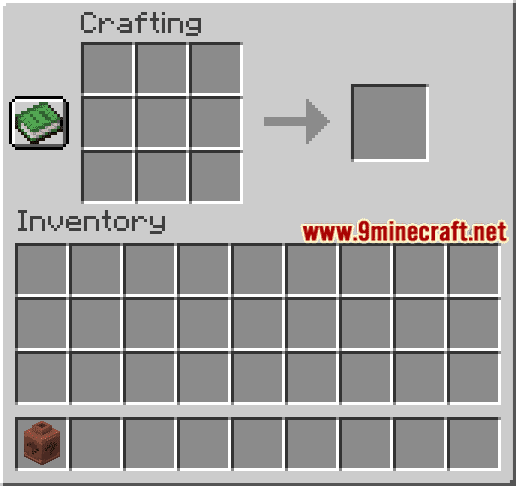
3. Move the Decorated Pot to Inventory
Once you have crafted a Shelter Decorated Pot, you need to move the new item to your inventory.
Congratulations, you have made a Shelter Decorated Pot in Minecraft!