Trading With Villagers – Complete Guide
 493
493
 0
0


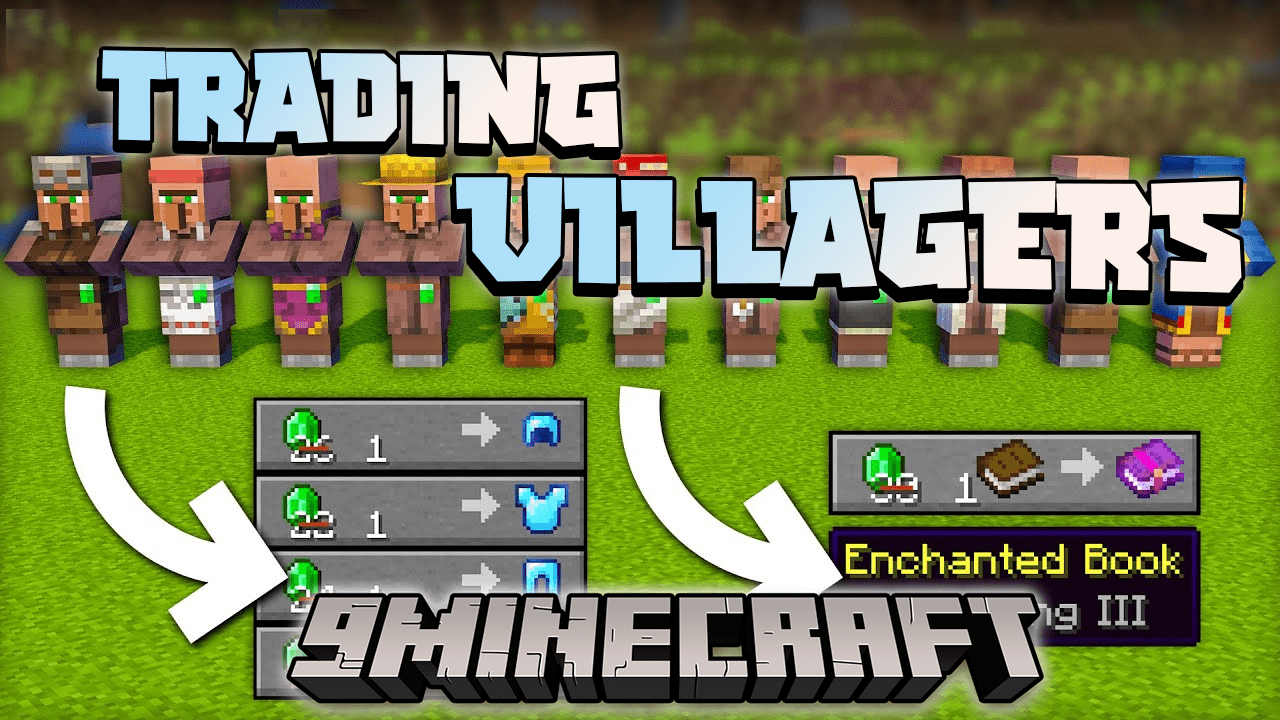
Trading with villagers is a significant feature in Minecraft, allowing players to obtain valuable items and resources by interacting with villagers of different professions in a village. While the trading system may initially seem complex, it is straightforward at its core. This guide will provide an overview of how trading works and break down the trades for each profession.
In Minecraft, you can find villagers in villages, and each villager has a specific profession denoted by their clothing and appearance.
1. Finding A Village

To engage in trading, you must first locate a village. Fortunately, villages are relatively abundant and can be found in various biomes. Furthermore, the style of each village will be influenced by the specific biome it is situated in. These are some of the biomes where you can discover villages:
- Plains
- Savanna
- Taiga
- Meadows
- Snowy Plains (Exclusive to Bedrock Edition)
- Snowy Taiga (Exclusive to Bedrock Edition)
- Desert
Notes: In general, villages are not particularly rare, and with a brief exploration of the vicinity, you should be able to locate one. Villages tend to spawn with some distance between them and are not frequently found in the same biome. Therefore, if you are situated near multiple biomes, it’s advisable to thoroughly search all of them for villages.
2. How To Find Emeralds
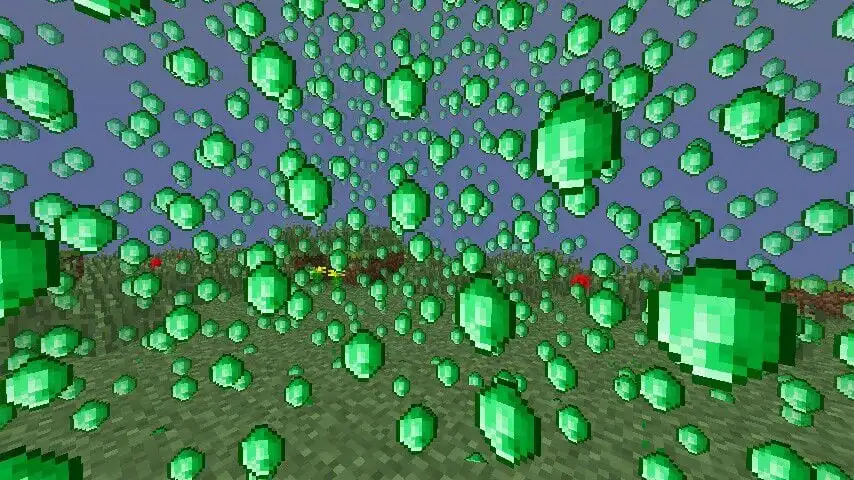
Now, let’s focus on obtaining emeralds, which serve as the primary currency for trading with villagers. While emeralds may not be readily available, there are several methods to acquire them, as outlined below.
To accumulate emeralds, consider the following methods:
- Trading With Villagers: You can acquire emeralds by trading common items like sticks, bread, and more with villagers.
- Village Chests: Occasionally, emeralds may be found in chests located within village houses.
- Mining: While mining underground, you have a chance to come across emeralds. They are most commonly found at Y level 256.
- Buried Treasure and Shipwrecks: Chests located in buried treasure and shipwrecks may contain emeralds, although this method is not particularly efficient for farming emeralds.
If you intend to mine for emeralds, it’s crucial to be aware that the most common elevation for emerald ores is incredibly high. Y=256 is beyond reach in most biomes. Instead, you’ll need to locate a mountain or peak biome characterized by towering stone mountains that extend into the sky.
In such high-altitude biomes, you should have a good chance of encountering numerous emerald deposits, with some possibly visible on the surface of the terrain.
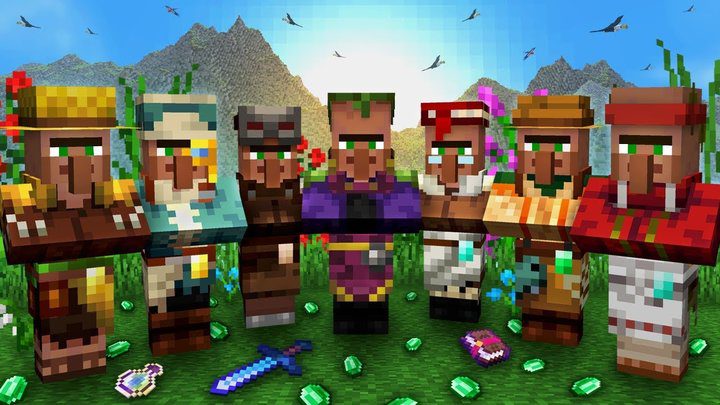
3. Villager Trading And Leveling
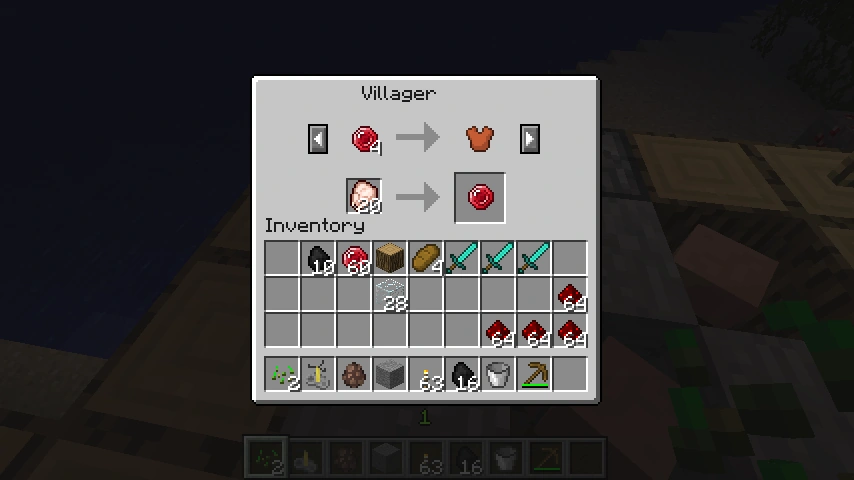
To initiate trading, interact with a villager wearing distinctive attire that corresponds to their profession. Each profession has a unique costume that distinguishes them from others. Additionally, you can hold an item or emerald in your hand. If a villager responds by holding an item or emerald in their hand, it signifies their willingness to engage in a trade involving that item.
As you engage in trades with villagers, they will progress through various levels. Initially, every villager starts as a Novice. As you continue to trade with them, they will advance through the ranks of Apprentice, Journeyman, Expert, and ultimately Master. With each new level, more trade options become available. You can monitor a villager’s level progress at the top of the trading interface, while their current level is indicated by the orb on their uniform’s belt.
Notes: Unemployed villagers and Nitwits (identified by their green attire) are unable to engage in trading. However, you can assign a job to an unemployed villager by placing an appropriate job block nearby. It’s important to note that Nitwits will never be able to hold a job or engage in trading.
If you are dissatisfied with a particular trade, you have the option to remove the villager’s workstation and then replace it. Doing so will reset both their trades and their level progress. This approach is particularly beneficial with Librarians because they have a chance to offer any enchanted book as their initial trade, including rare ones like Mending and Infinity.
In general, it’s a good strategy to establish a few villagers with favorable emerald trades. These trades, which are cost-effective to complete, will help you accumulate emeralds, enabling you to engage in more significant trades with other villagers.
4. Villager Stock
Just as in the real world, the principles of supply and demand are crucial when trading with villagers. Each trade is constrained by its supply, which implies that you cannot anticipate engaging in an endless number of trades with a villager for a particular item. The more valuable the trade, the fewer of that item the villager will have available for trading.
Tips: To address this limitation, you can have multiple villagers with the same profession. This strategy enables you to engage in more trades without the need to wait for the following day to restock.
To replenish their stock, villagers must work at their respective workstations, and this typically occurs a maximum of twice a day. During this restocking process, the trade will remain unavailable until the villager has completed it.
4.1 Pricing
When it comes to pricing, several factors can influence it, and it’s important to be aware of these factors.
| Effect | Description |
|---|---|
| Popularity | Trading extensively with numerous villagers results in reduced prices, whereas harming villagers leads to higher prices due to decreased popularity. |
| Sold Out Items | When a trade item goes out of stock and is later restocked, its price experiences a substantial increase. |
| Hero Of The Village | After successfully repelling a raid on a village, you gain the Hero Of The Village status effect, which results in reduced prices for all trades. |
5. Zombie Village
Zombie villagers, as their name suggests, are villagers who have been transformed into zombies. While in their zombie state, they pose a threat and can inflict significant damage. However, there is a way to revert them back to their villager form, and the steps to do so are outlined below:
- Capture the zombie villager.
- Inflict the Weakness effect on the zombie villager using one of these methods:
- A Splash Potion of Weakness.
- A Tipped Arrow with a Weakness Potion effect.
- A Lingering Potion of Weakness.
- Feed the weakened zombie villager a Golden Apple by simply tossing it to them.
- The zombie villager will exhibit signs of transformation, such as shaking, indicating that the cure is in progress.
- Once the transformation is complete, the villager will offer you permanent trade discounts. By infecting and curing villagers, you can gradually reduce the prices of items, and you can repeat this process with the same villager until prices drop to one emerald (or one item).
Tips: If you need more detailed information on how to cure a zombie villager, please refer to the guide provided for comprehensive instructions and tips.
6. All Trades Per Profession
Let’s now delve into each profession and what they offer at each level.
Notes: The numbers provided alongside each trade represent the default prices, which remain unchanged even after curing.
6.1 Farmer
| Novice | Apprentice | Journeyman | Expert | Master |
|---|---|---|---|---|
| Wheat Emerald |
Pumpkin Emerald |
Melon Emerald |
Emerald Emerald |
Emerald Emerald |
6.2 Butcher
| Novice | Apprentice | Journeyman | Expert | Master |
|---|---|---|---|---|
| Raw Chicken (14) = Emerald Raw Rabbit (4) = Emerald Raw Porkchop (7) = Emerald Emerald |
Coal (15) = Emerald Emerald Emerald |
Raw Beef (10) = Emerald Raw Mutton (7) = Emerald |
Dried Kelp Block (10) = Emerald |
Sweet Berries (10) = Emerald |
6.3 Fisherman
| Novice | Apprentice | Journeyman | Expert | Master |
|---|---|---|---|---|
| String (20) = Emerald Coal (10) = Emerald Emerald Emerald |
Raw Cod (15) = Emerald Emerald Emerald |
Raw Salmon (13) = Emerald Emerald |
Tropical Fish (6) = Emerald |
Pufferfish (4) = Emerald Boat (1) = Emerald |
6.4 Shepherd
| Novice | Apprentice | Journeyman | Expert | Master |
|---|---|---|---|---|
| White/Brown/Black/Brown/Gray Wool (18) = Emerald Emerald |
Black/White/Light Blue/Lime/Gray Dye (12) = Emerald Emerald Emerald |
Yellow/Red/Orange/Pink/Light Gray Dye (12) = Emerald Emerald |
Green/Magenta/Purple/Cyan/Blue/Brown/Green Dye (12) = Emerald Emerald |
Emerald |
6.5 Mason
| Novice | Apprentice | Journeyman | Expert | Master |
|---|---|---|---|---|
| Clay Ball (10) = Emerald Emerald |
Stone (20) = Emerald Emerald |
Granite/Andesite/Diorite (16) = Emerald Emerald |
Nether Quartz (12) = Emerald Emerald |
Emerald |
6.6 Leatherworker
| Novice | Apprentice | Journeyman | Expert | Master |
|---|---|---|---|---|
| Leather (6) = Emerald Emerald Emerald |
Flint (26) = Emerald Emerald Emerald |
Rabbit Hide (9) = Emerald Emerald |
Scute (4) = Emerald Emerald |
Emerald Emerald |
6.7 Librarian
| Novice | Apprentice | Journeyman | Expert | Master |
|---|---|---|---|---|
| Paper (24) = Emerald Emerald Emerald |
Book (4) = Emerald Emerald Emerald |
Ink Sac (5) = Emerald Emerald Emerald |
Book and Quill (1) = Emerald Emerald Emerald Emerald |
Emerald |
6.8 Weaponsmith
| Novice | Apprentice | Journeyman | Expert | Master |
|---|---|---|---|---|
| Coal (15) = Emerald Emerald Emerald |
Iron Ingot (4) = Emerald Emerald |
Flint (24) = Emerald |
Diamond (1) = Emerald Emerald |
Emerald |
6.9 Toolsmith
| Novice | Apprentice | Journeyman | Expert | |
|---|---|---|---|---|
| Coal (15) = Emerald Emerald |
Iron Ingot (4) = Emerald Emerald |
Flint (30) = Emerald Emerald Emerald Emerald Emerald |
Diamond (1) = Emerald Emerald Emerald |
Emerald |
6.10 Fletcher
| Novice | Apprentice | Journeyman | Expert | Master |
|---|---|---|---|---|
| Stick (32) = Emerald Emerald Emerald |
Flint (26) = Emerald Emerald |
String (14) = Emerald Emerald |
Feather (24) = Emerald Emerald |
Emerald Emerald Tripwire Hook (8) = Emerald |
6.11 Cleric
| Novice | Apprentice | Journeyman | Expert | Master |
|---|---|---|---|---|
| Rotten Flesh (32) = Emerald Emerald |
Gold Ingot (3) = Emerald Emerald |
Rabbit’s Foot (2) = Emerald Emerald |
Scute (4) = Emerald Glass Bottle (9) = Emerald Emerald |
Nether Wart (22) = Emerald Emerald |
6.12 Armorer
| Novice | Apprentice | Journeyman | Expert | Master |
|---|---|---|---|---|
| Coal (15) = Emerald Emerald Emerald Emerald Emerald |
Iron Ingot (4) = Emerald Emerald Emerald Emerald |
Lava Bucket (1) = Emerald Diamond (1) = Emerald Emerald Emerald Emerald |
Emerald Emerald |
Emerald Emerald |
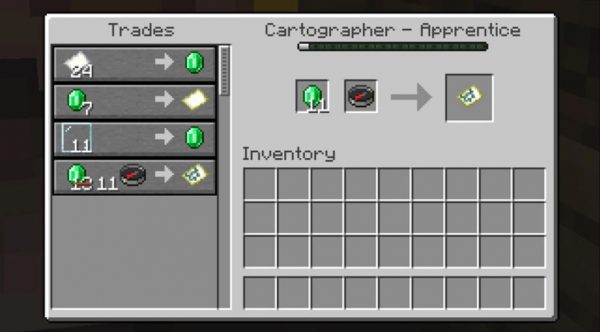
6.13 Cartographer
| Novice | Apprentice | Journeyman | Expert | Master |
|---|---|---|---|---|
| Paper (24) = Emerald Emerald |
Glass Pane (11) = Emerald Emerald |
Compass (1) = Emerald Emerald |
Emerald Emerald |
Emerald |

This post has no comments yet. Be the first — your comment will appear here.